They take up minimal space, use little water, are quick and easy to grow, and most importantly, they’re packed with nutrients: they're nature's superfoods, sprouts and microgreens! In this guide, we’ll explore how to grow microgreens at home, the difference between microgreens and sprouts, how to grow sprouts, and more.
What’s the Difference between Sprouts and Microgreens?
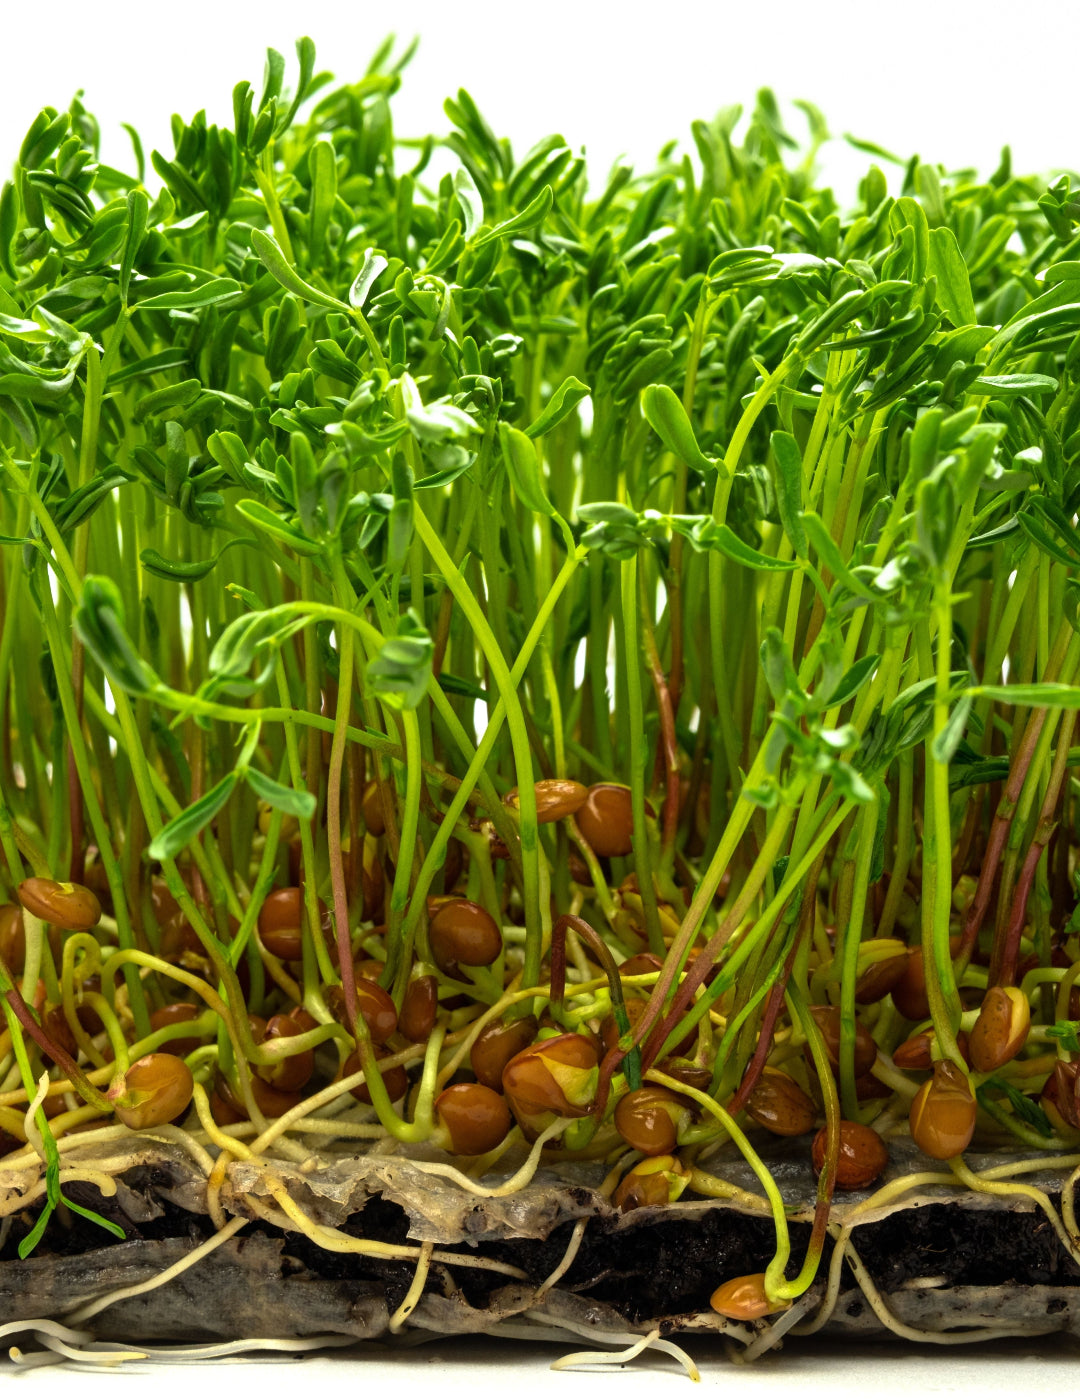
The main difference between sprouts and microgreens is the stage of the growing cycle in which you consume them.
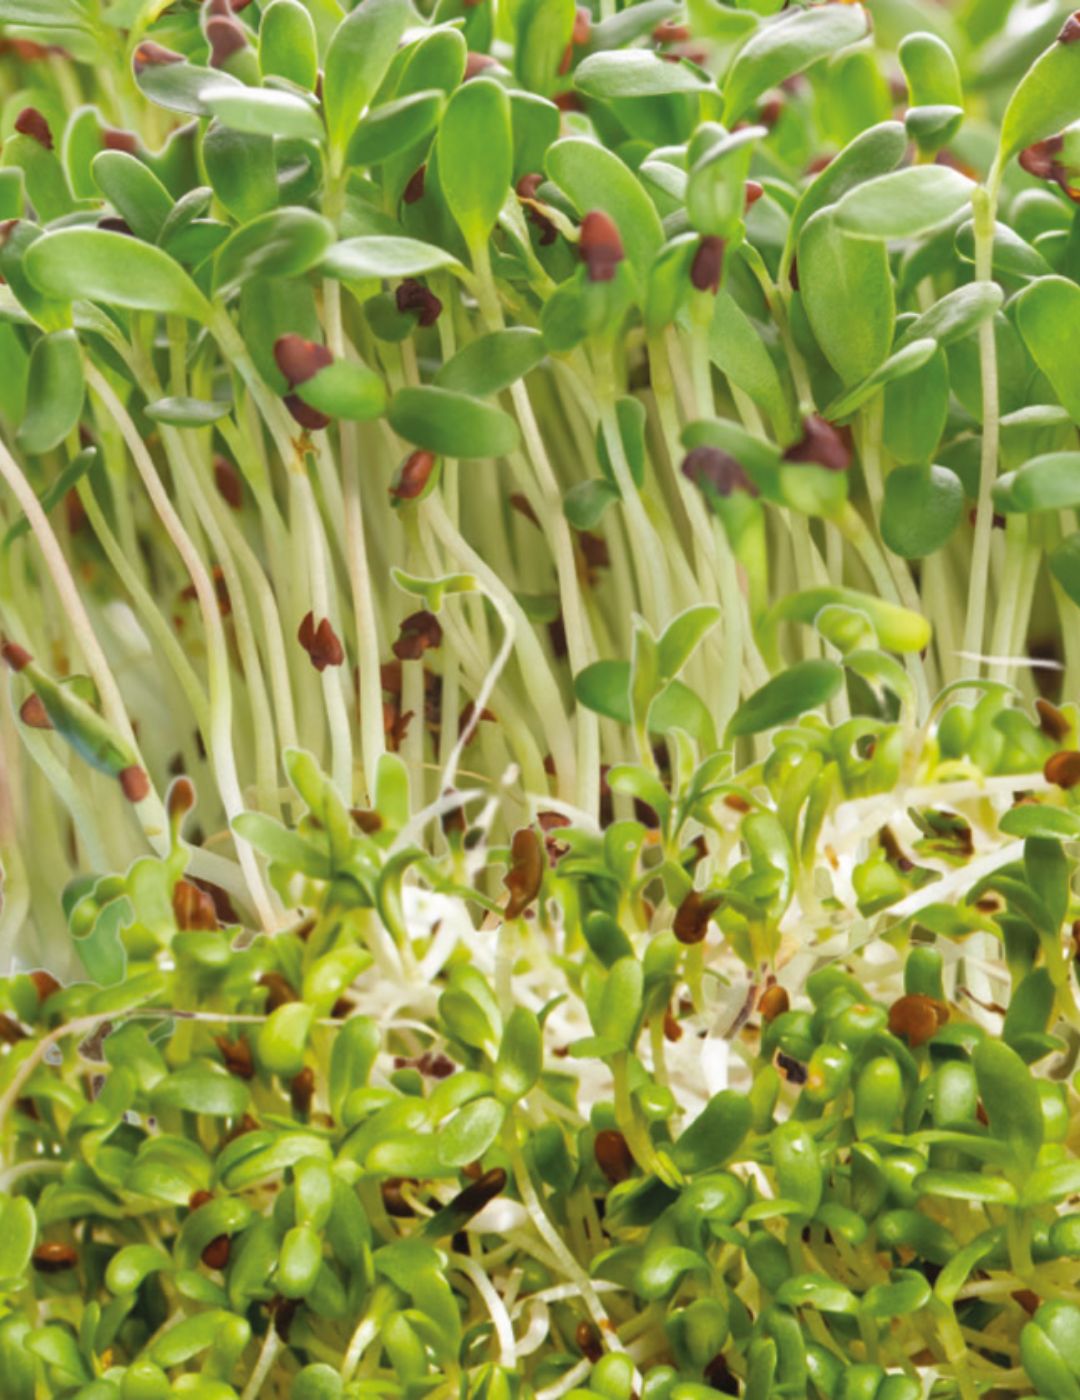
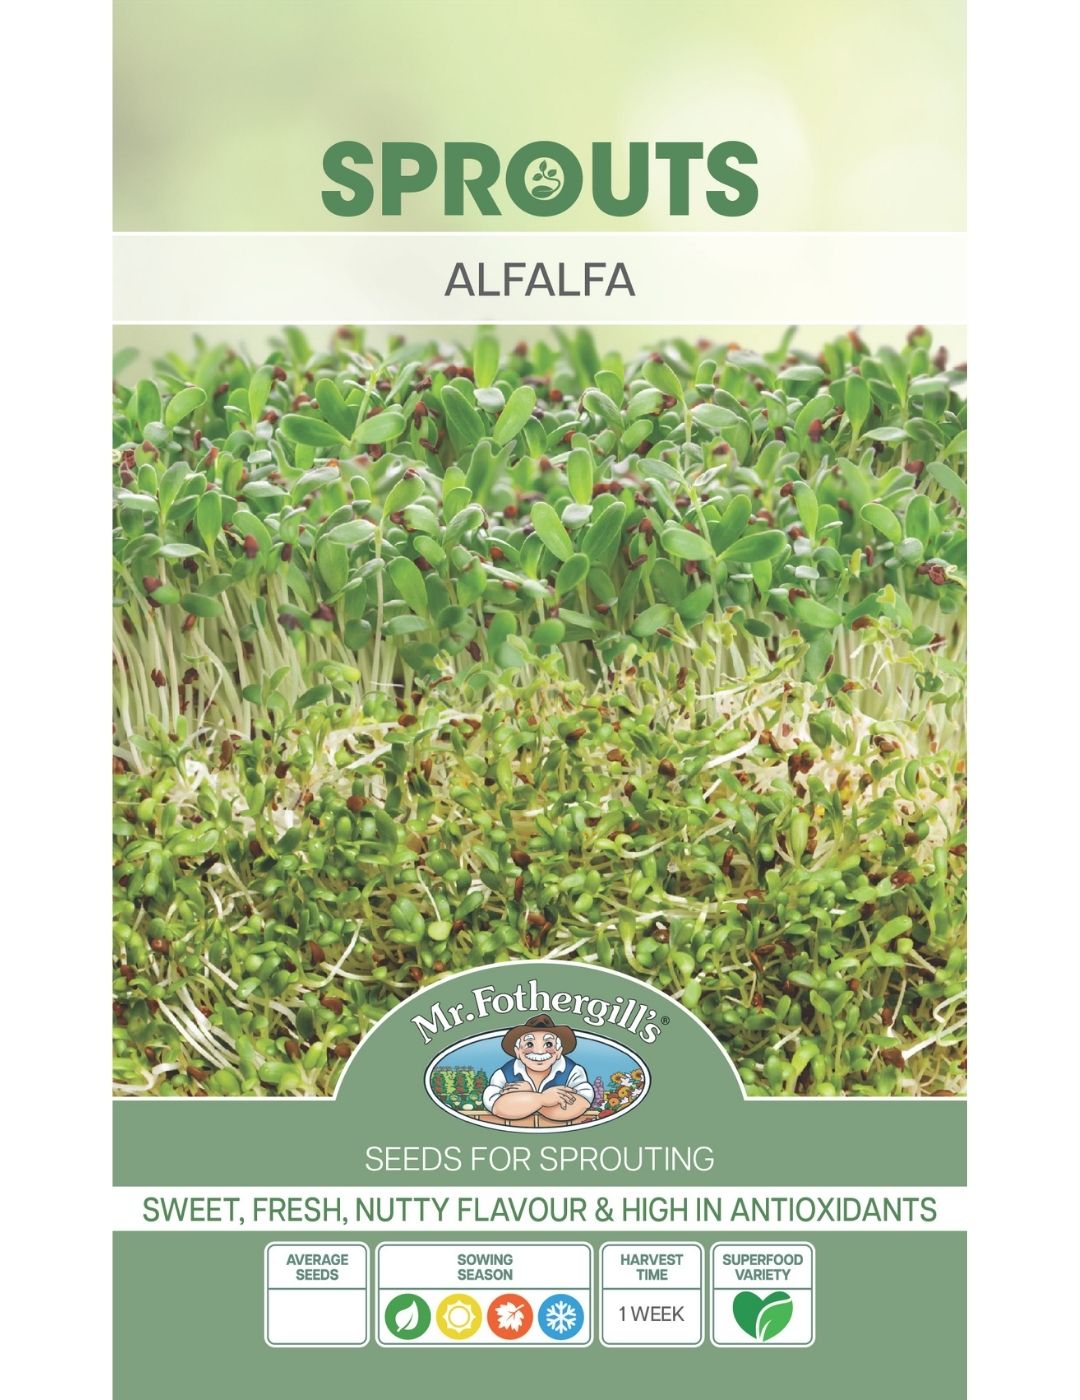
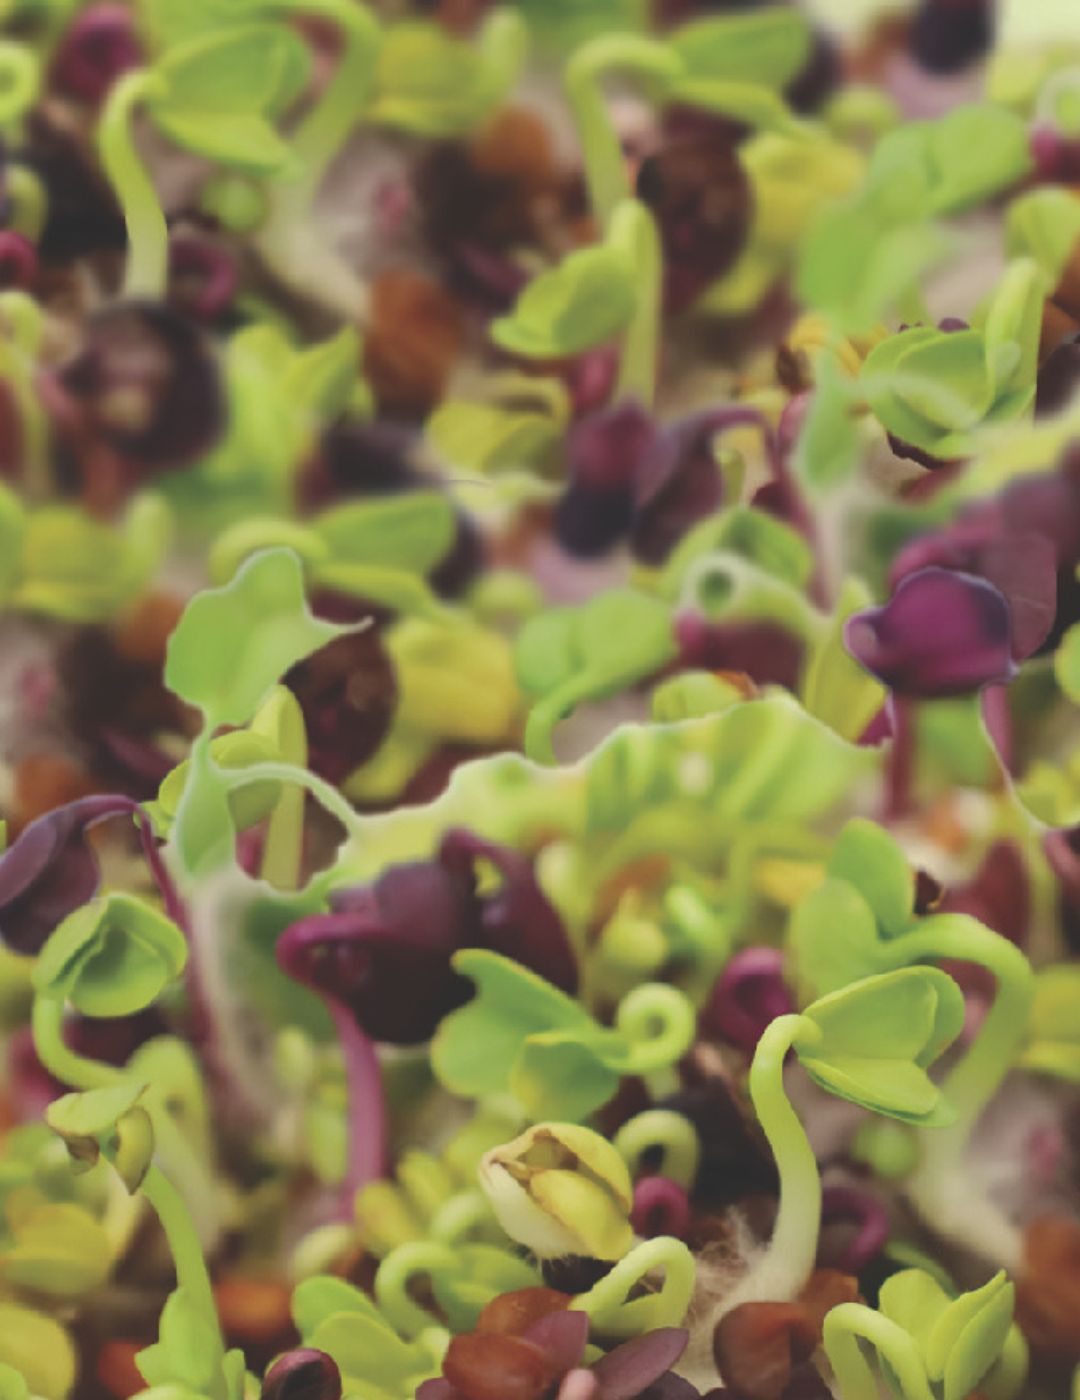
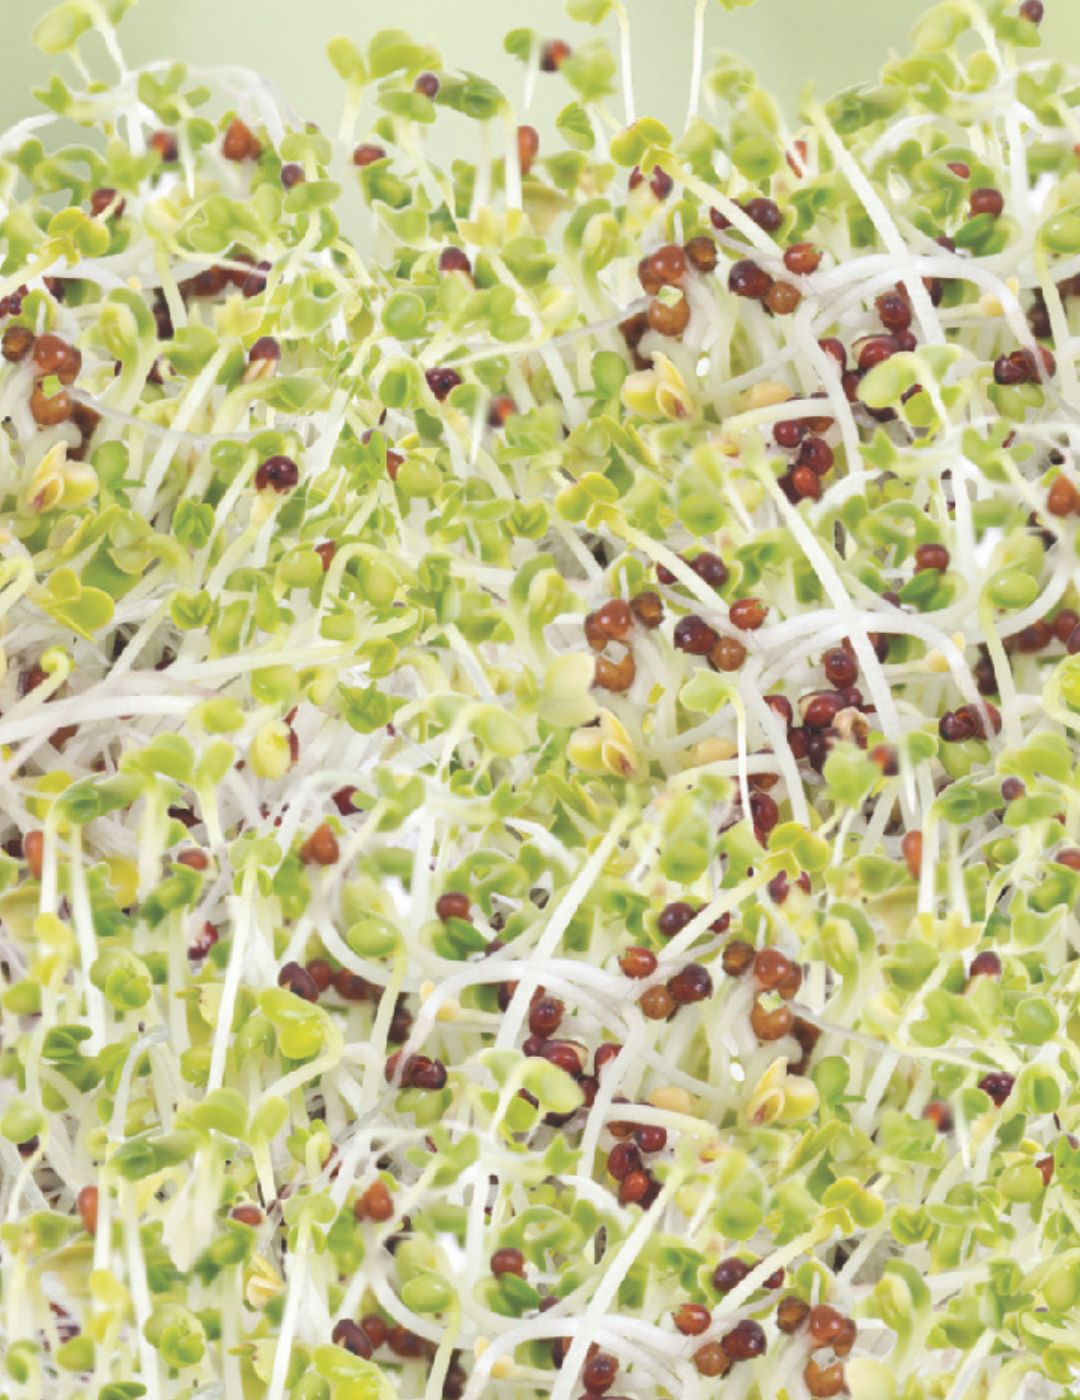
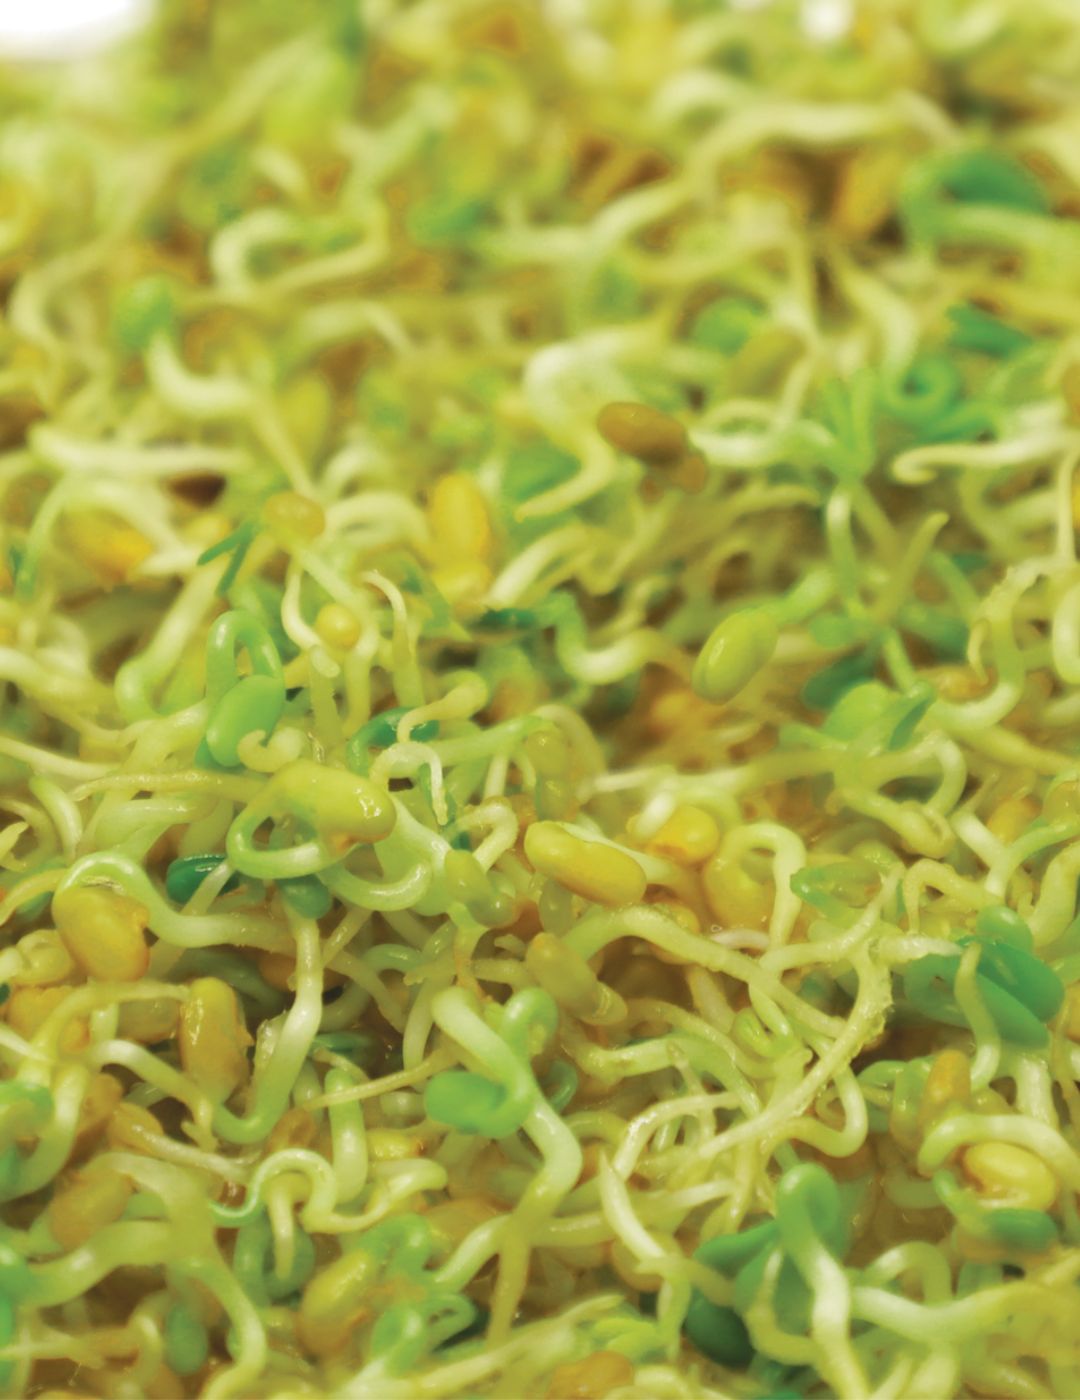
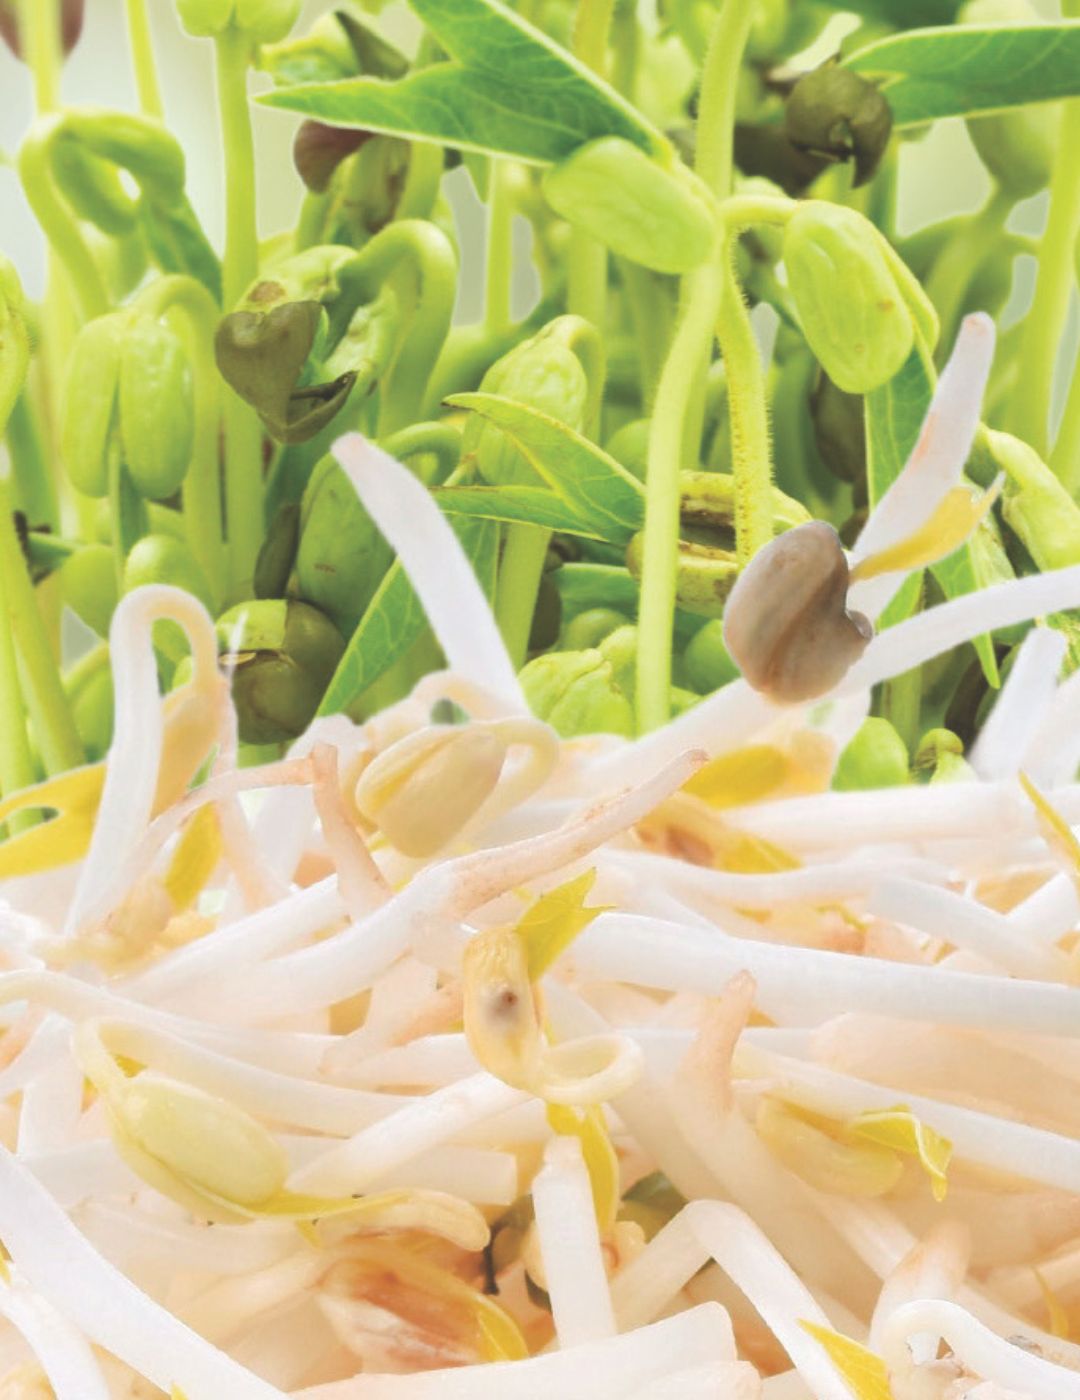
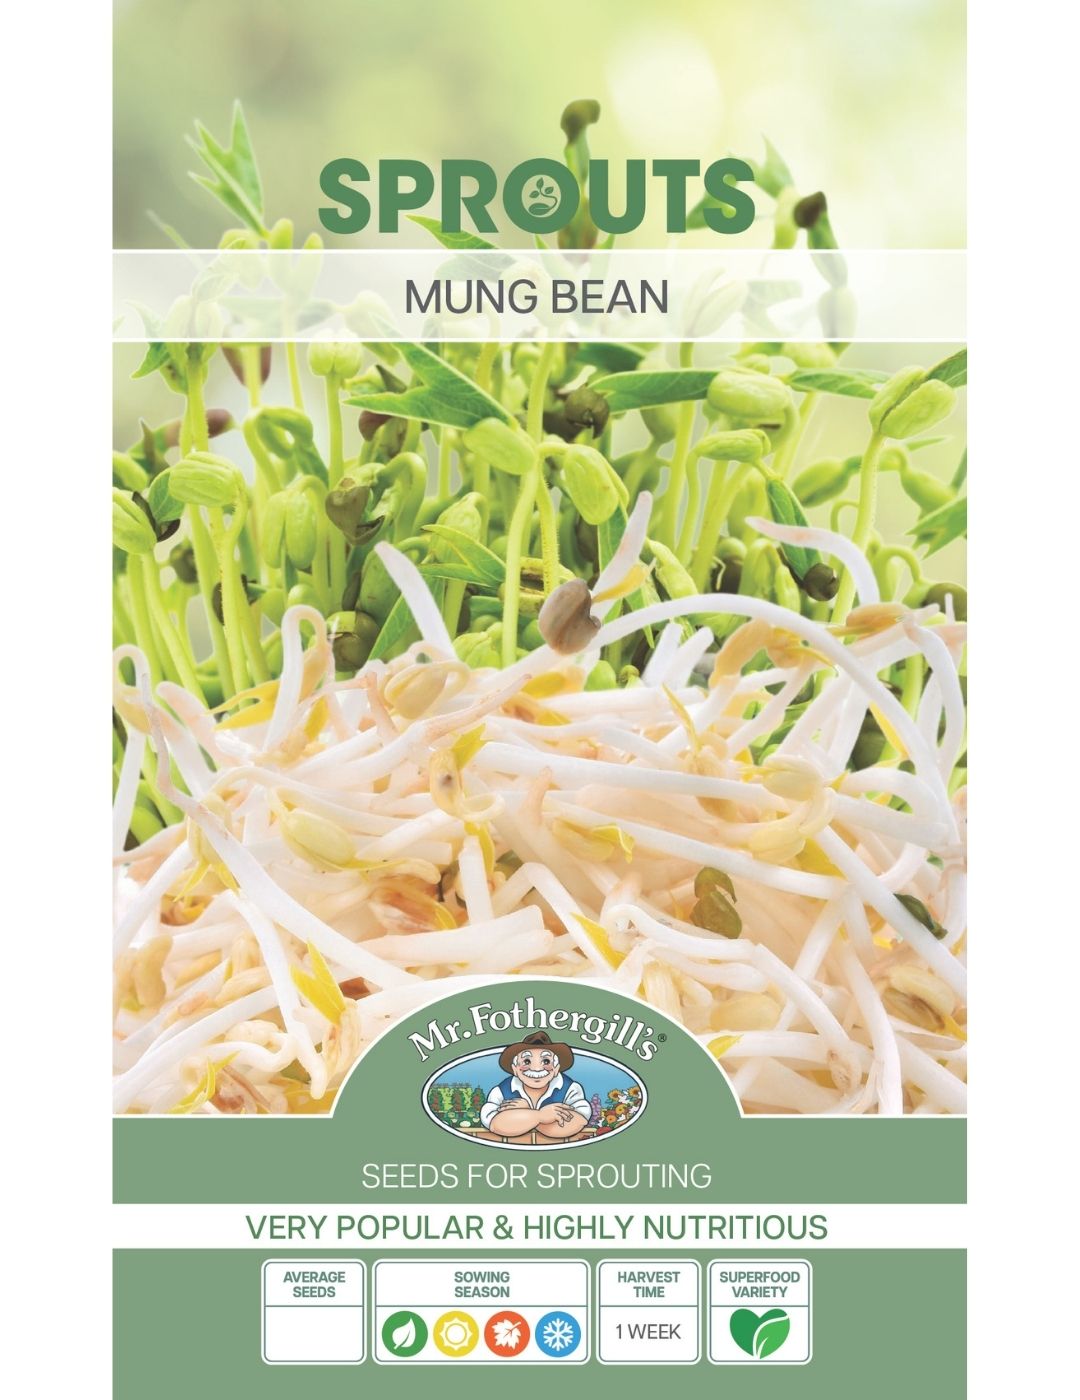
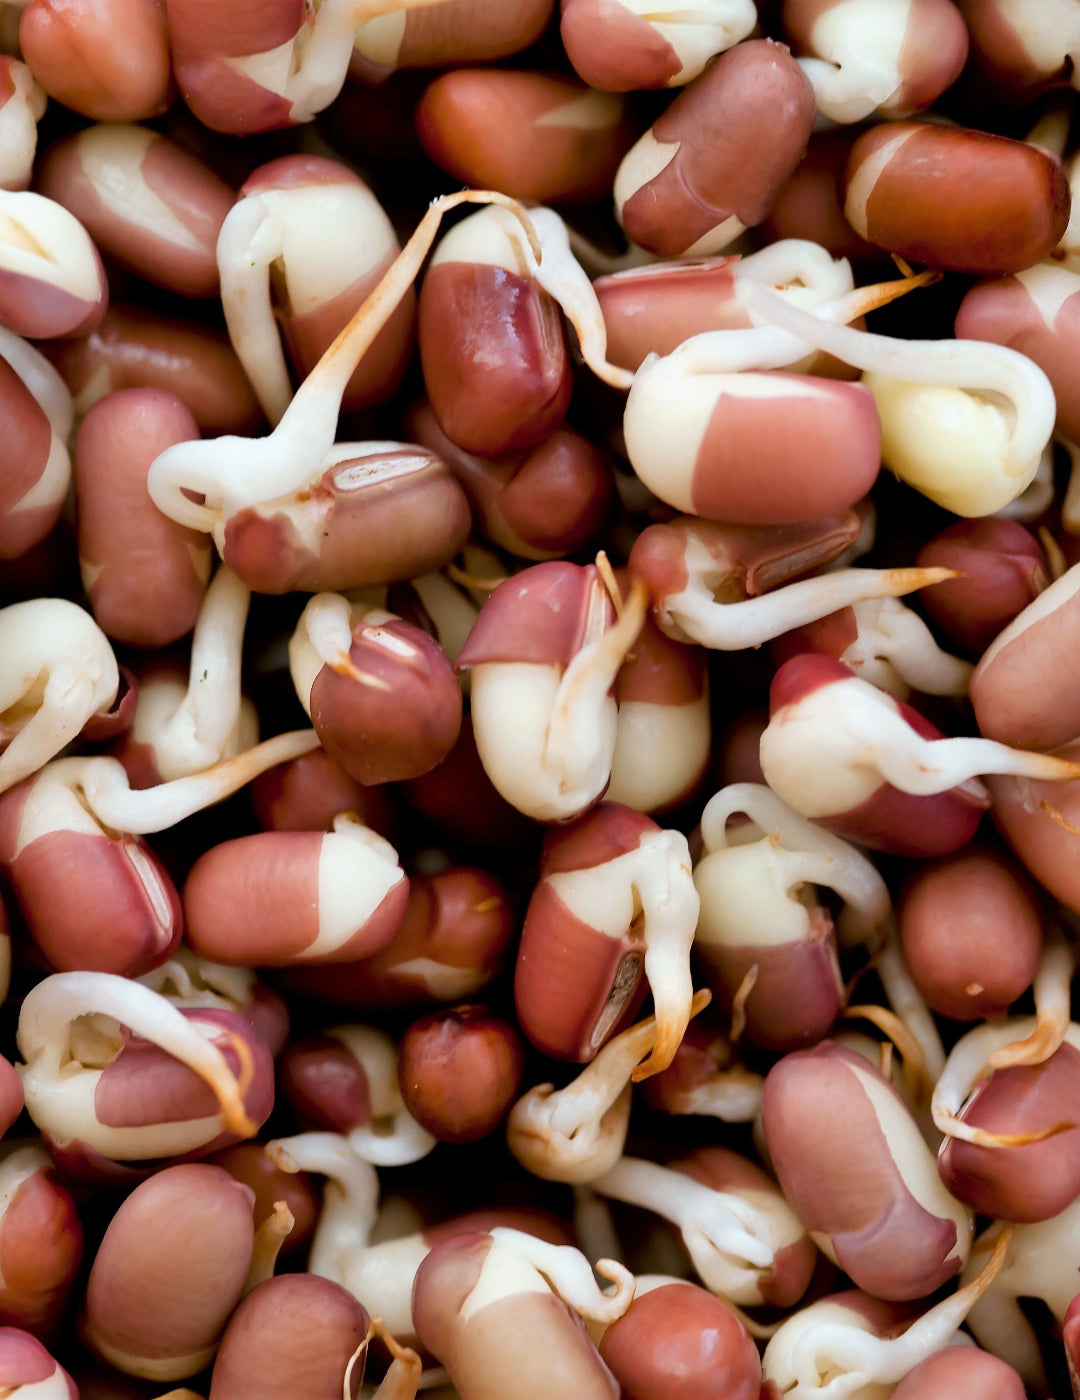
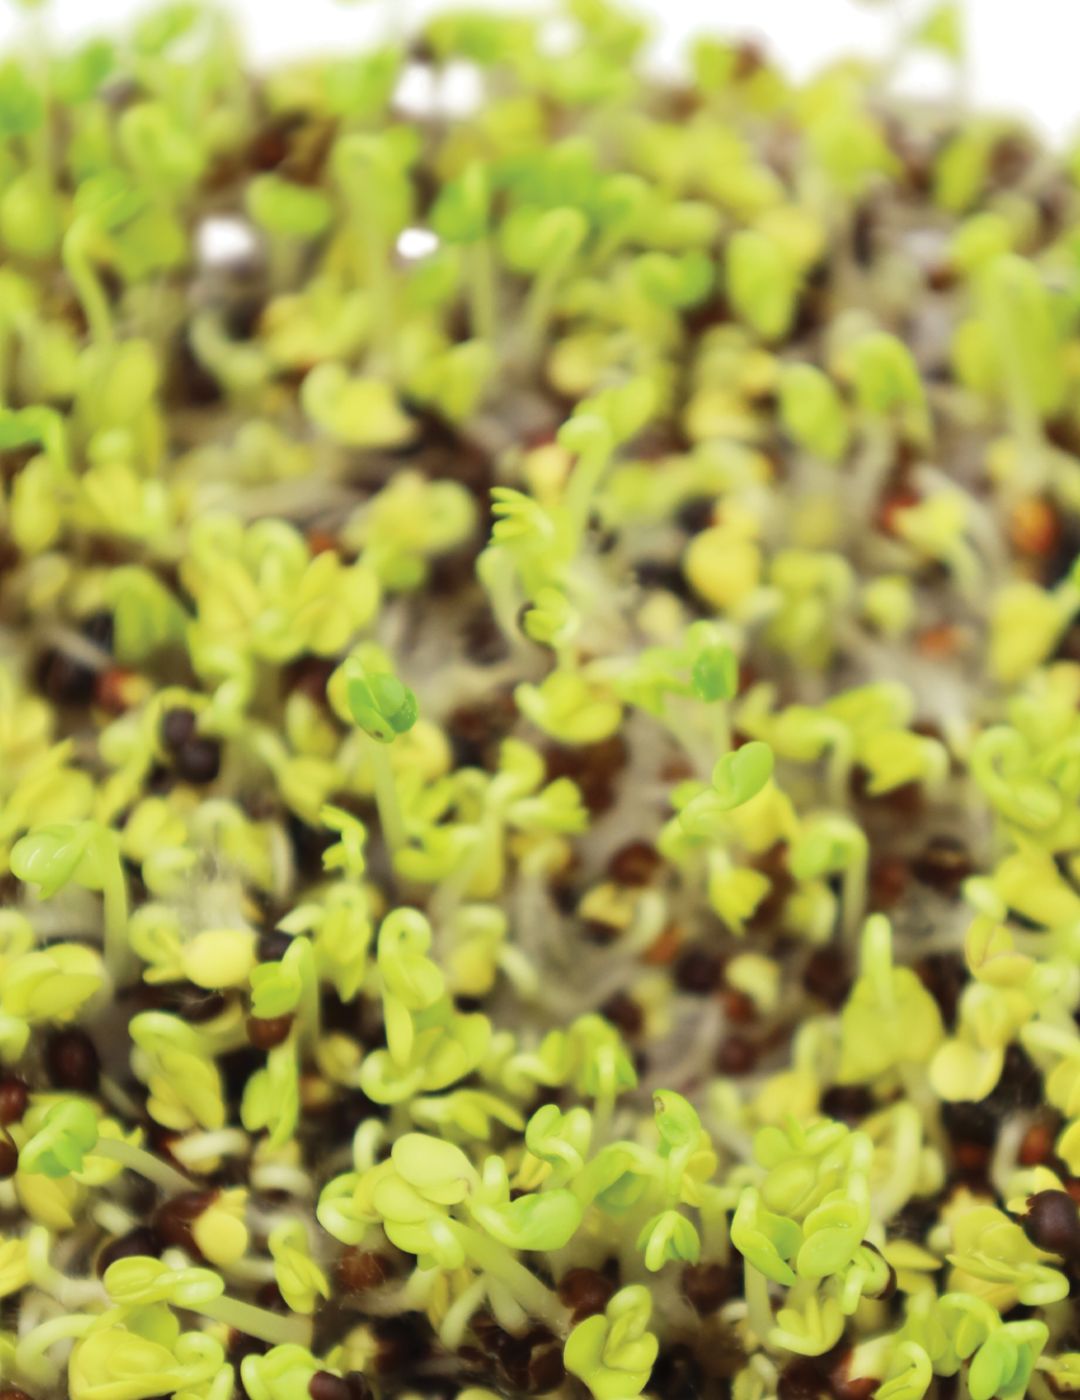
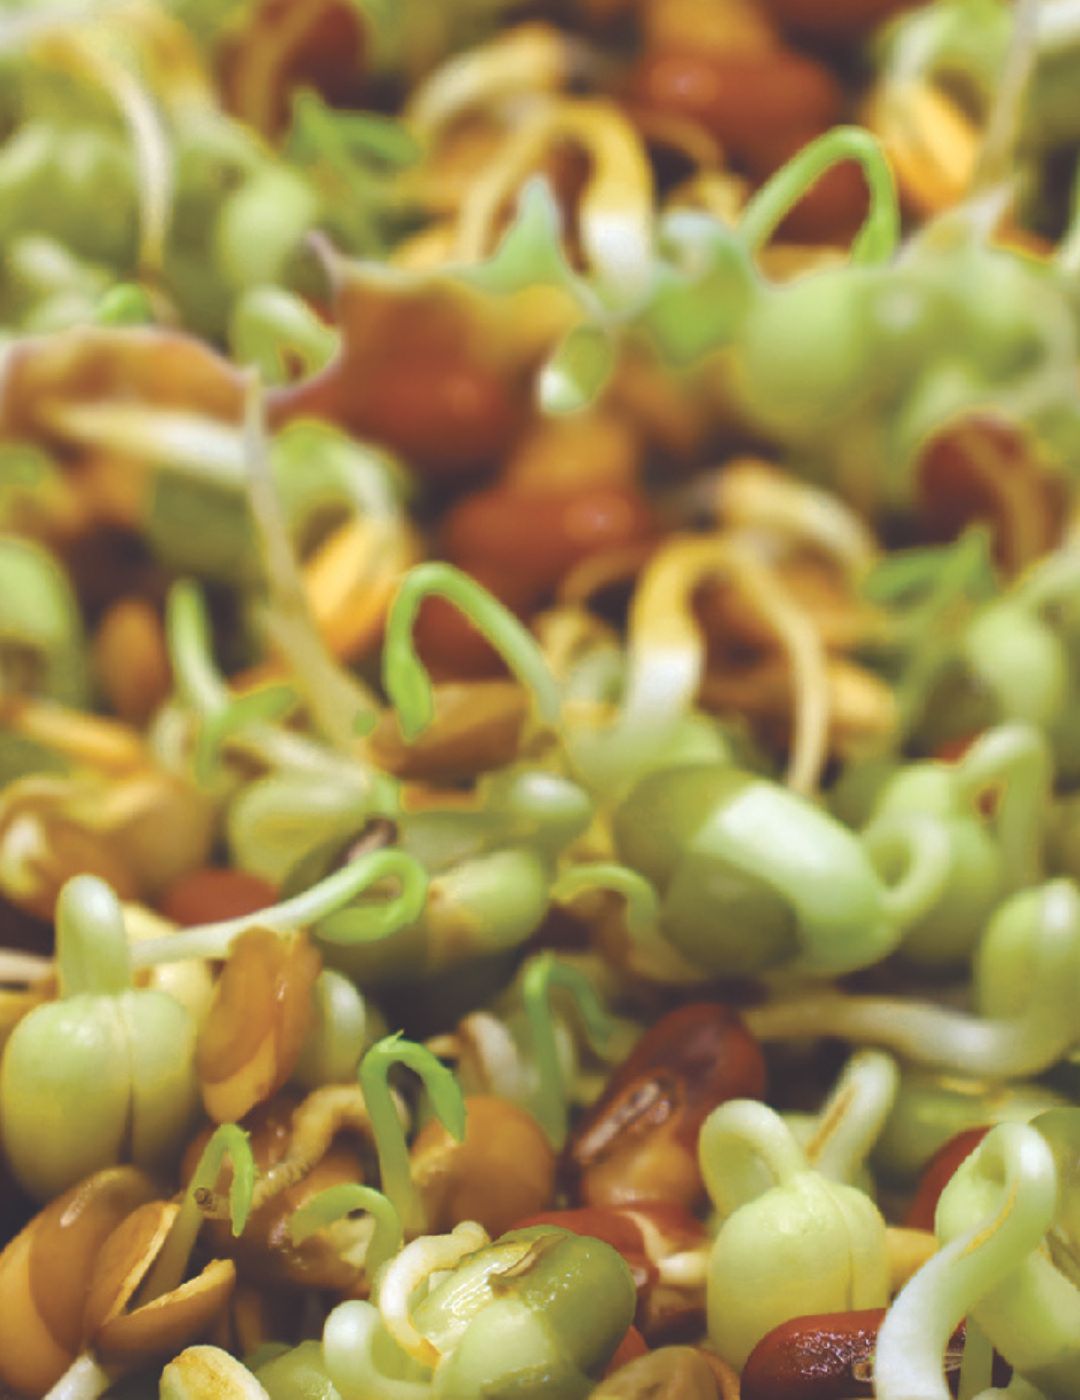
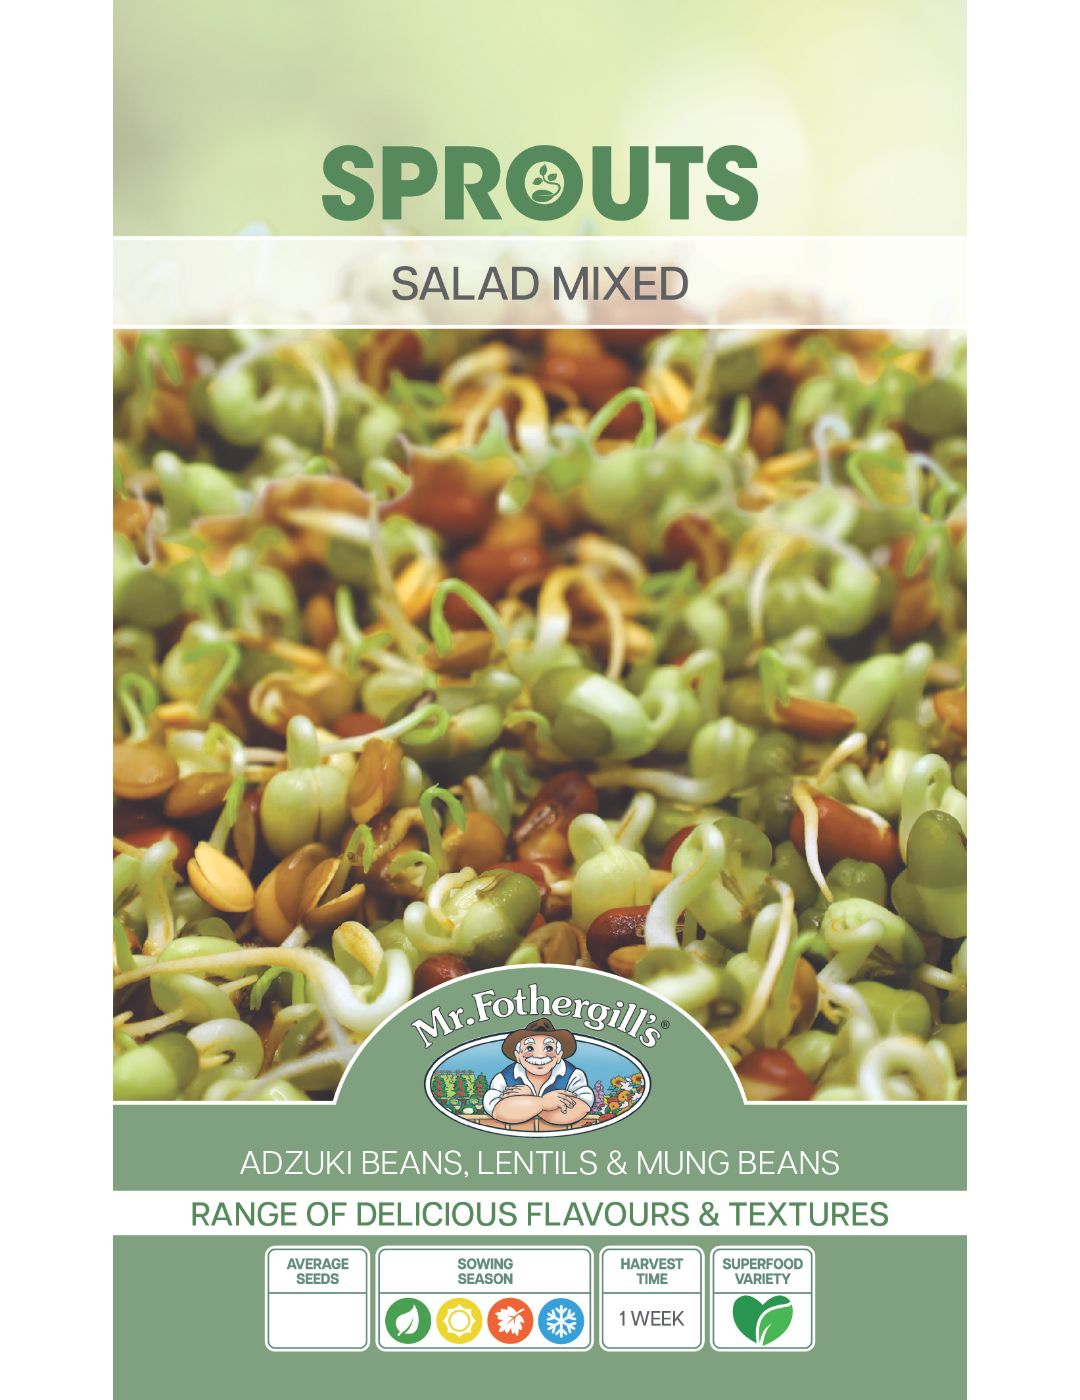
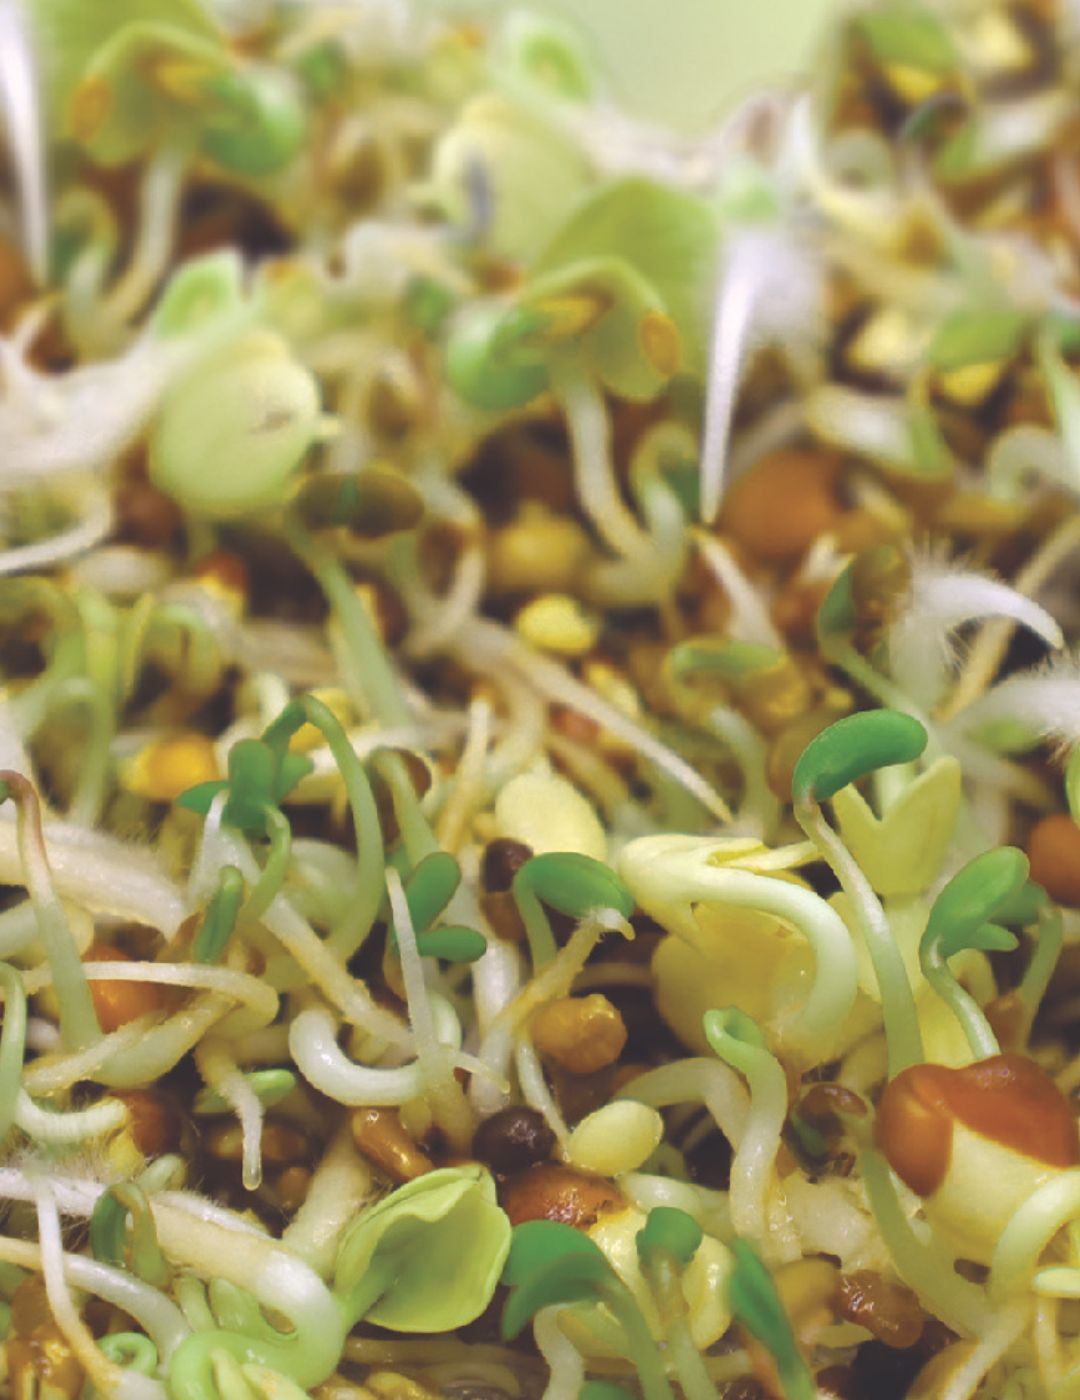
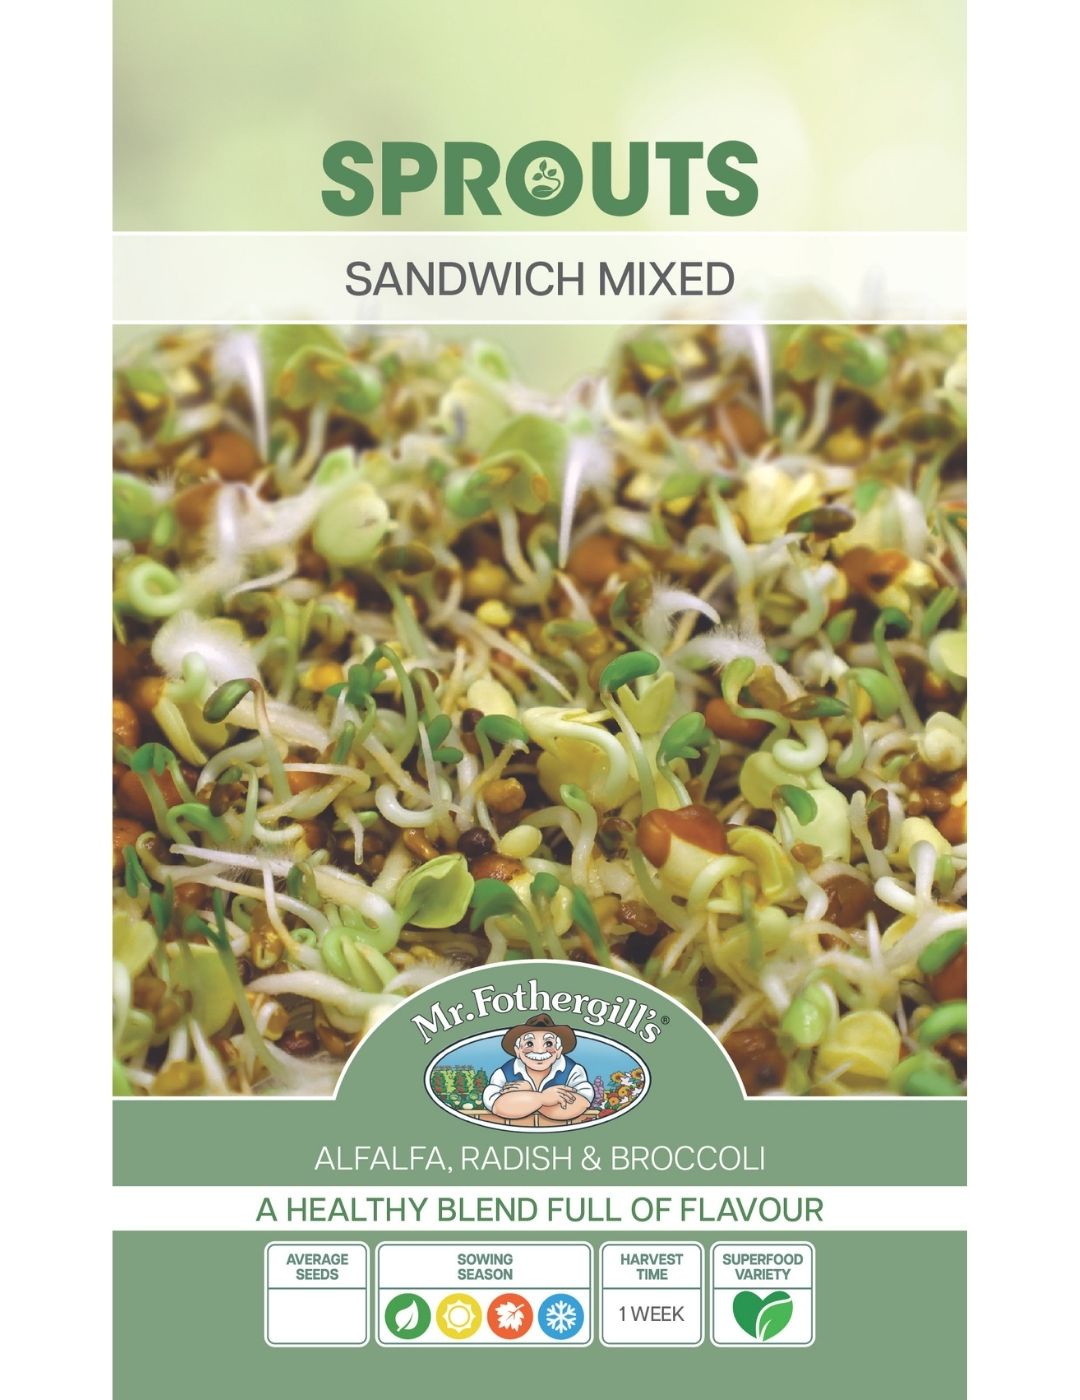
Sprouts are eaten when the seed has germinated but before the leaves have formed. You can eat the whole plant, seed and all.
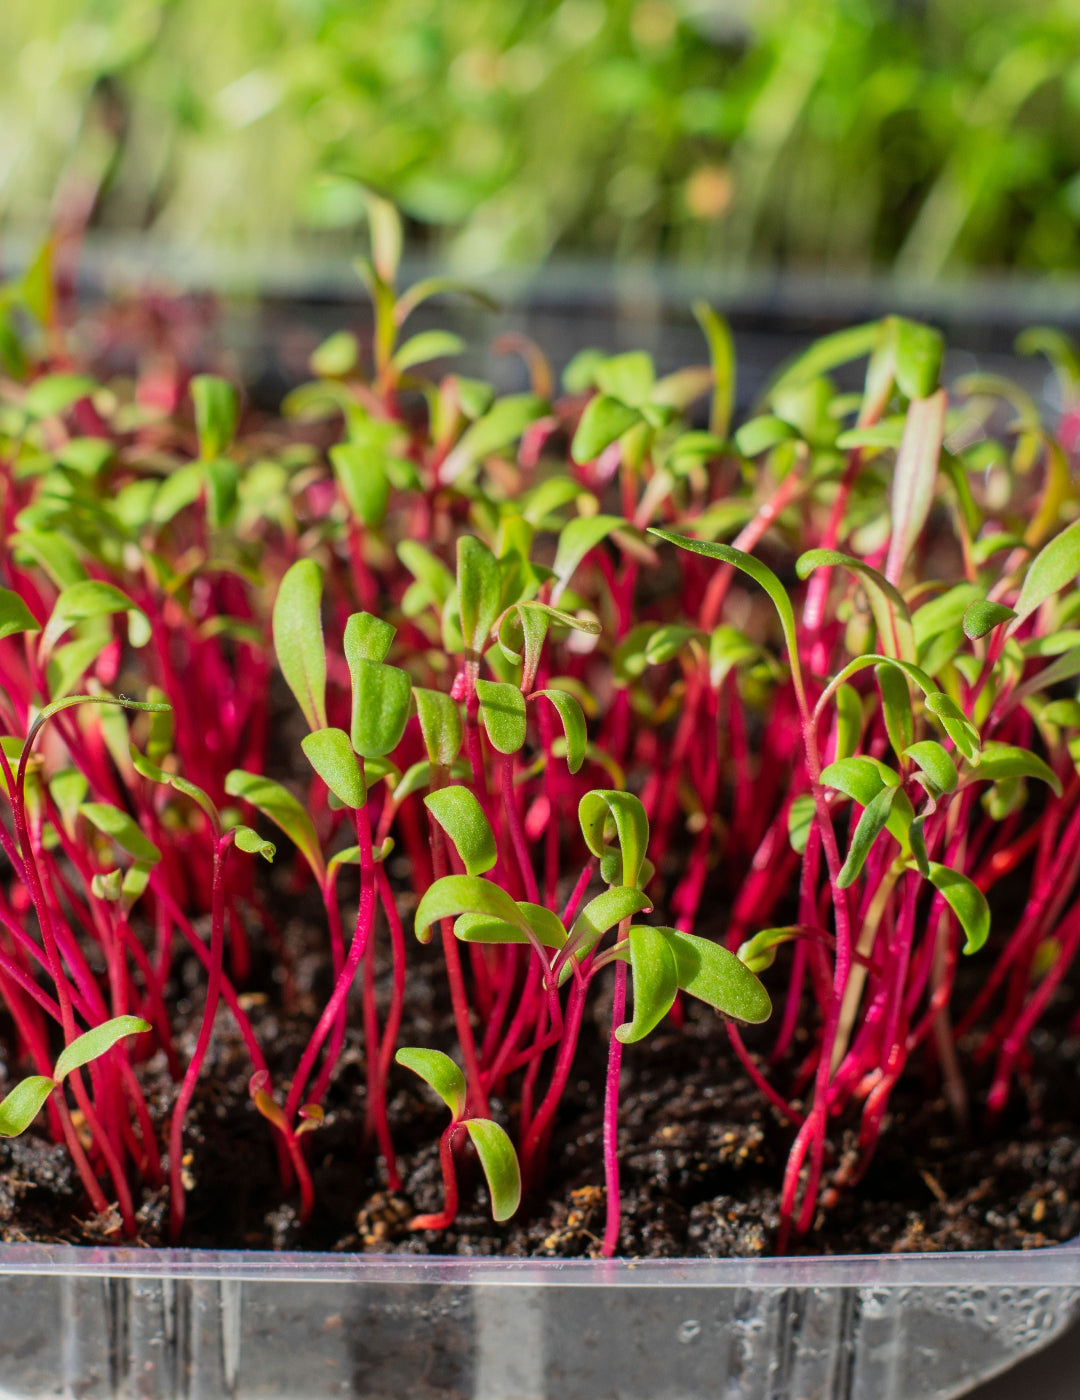
Microgreens are eaten once the first two leaves have formed. With microgreens, you eat the stem and the leaves but not the roots or seeds.
How to Grow Sprouts from Seed
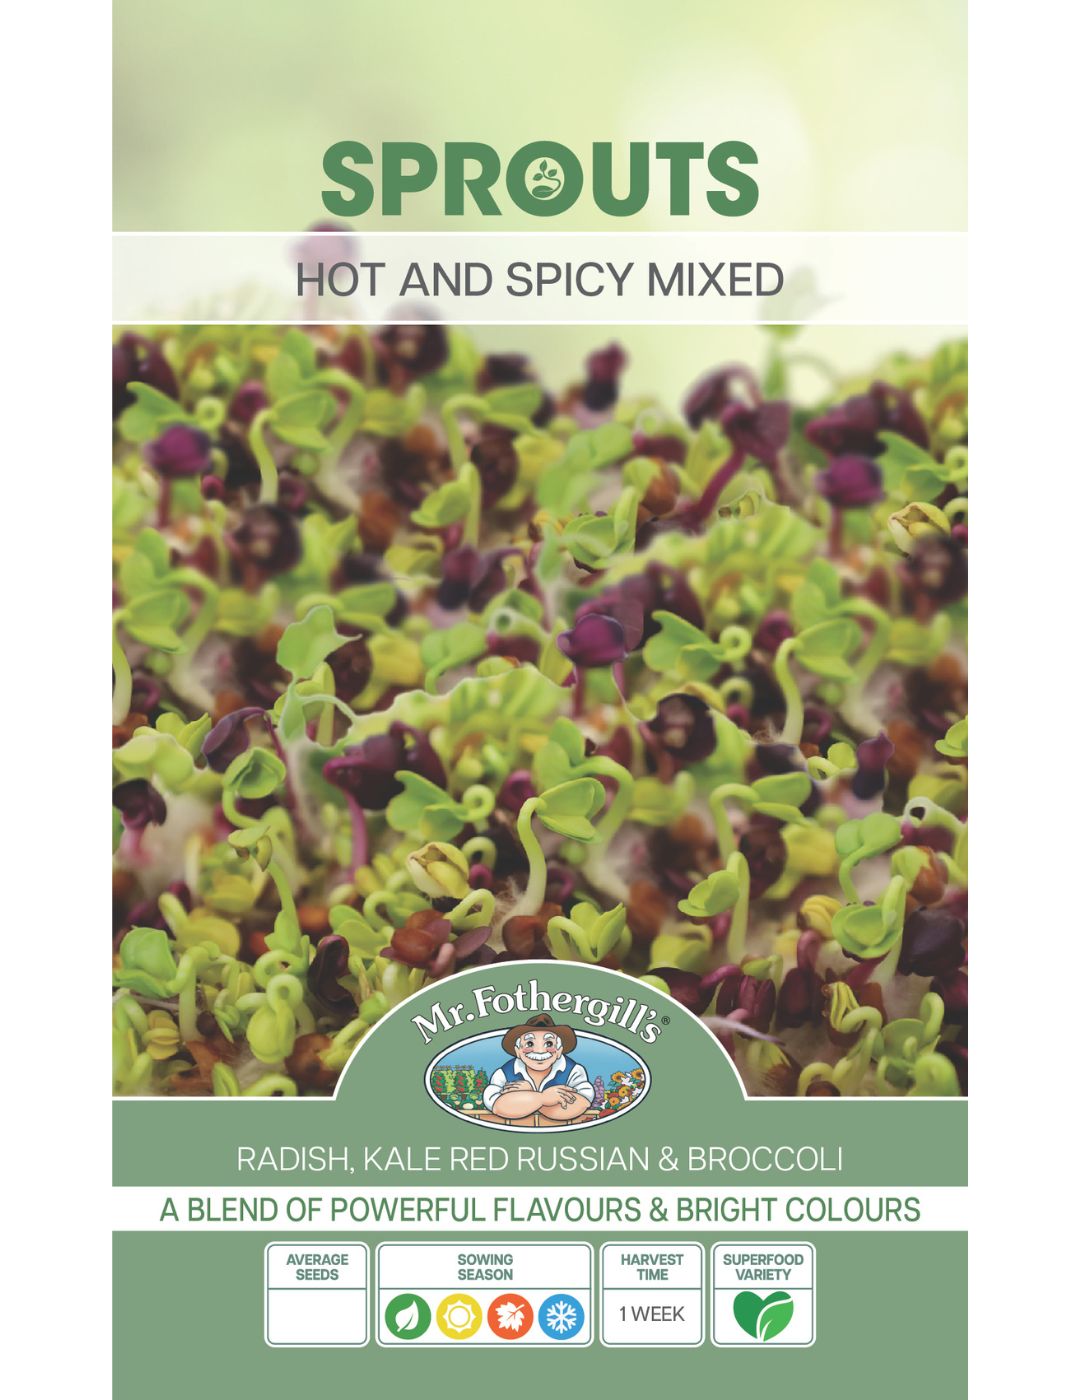
All you need to get started is seeds, water, and a growing container to grow sprouts at home. Here’s how to grow sprouts using a seed sprouter such as the Mr Fothergill’s Kitchen Seed Sprouter:
- Spread about 1 tablespoon of seeds in one or more of the four clear plastic trays.
- Stack the clear trays on top of the bottom tray.
- Pour enough water into the top tray to cover the outlet. This will commence the siphoning action and water will drain through each tray and outlet.
- Once draining is finished, empty any excess water from the bottom tray. The water that stays in the clear trays is enough to provide the necessary humidity for successful seed germination.
- Water in this way at least 2-3 times each day.
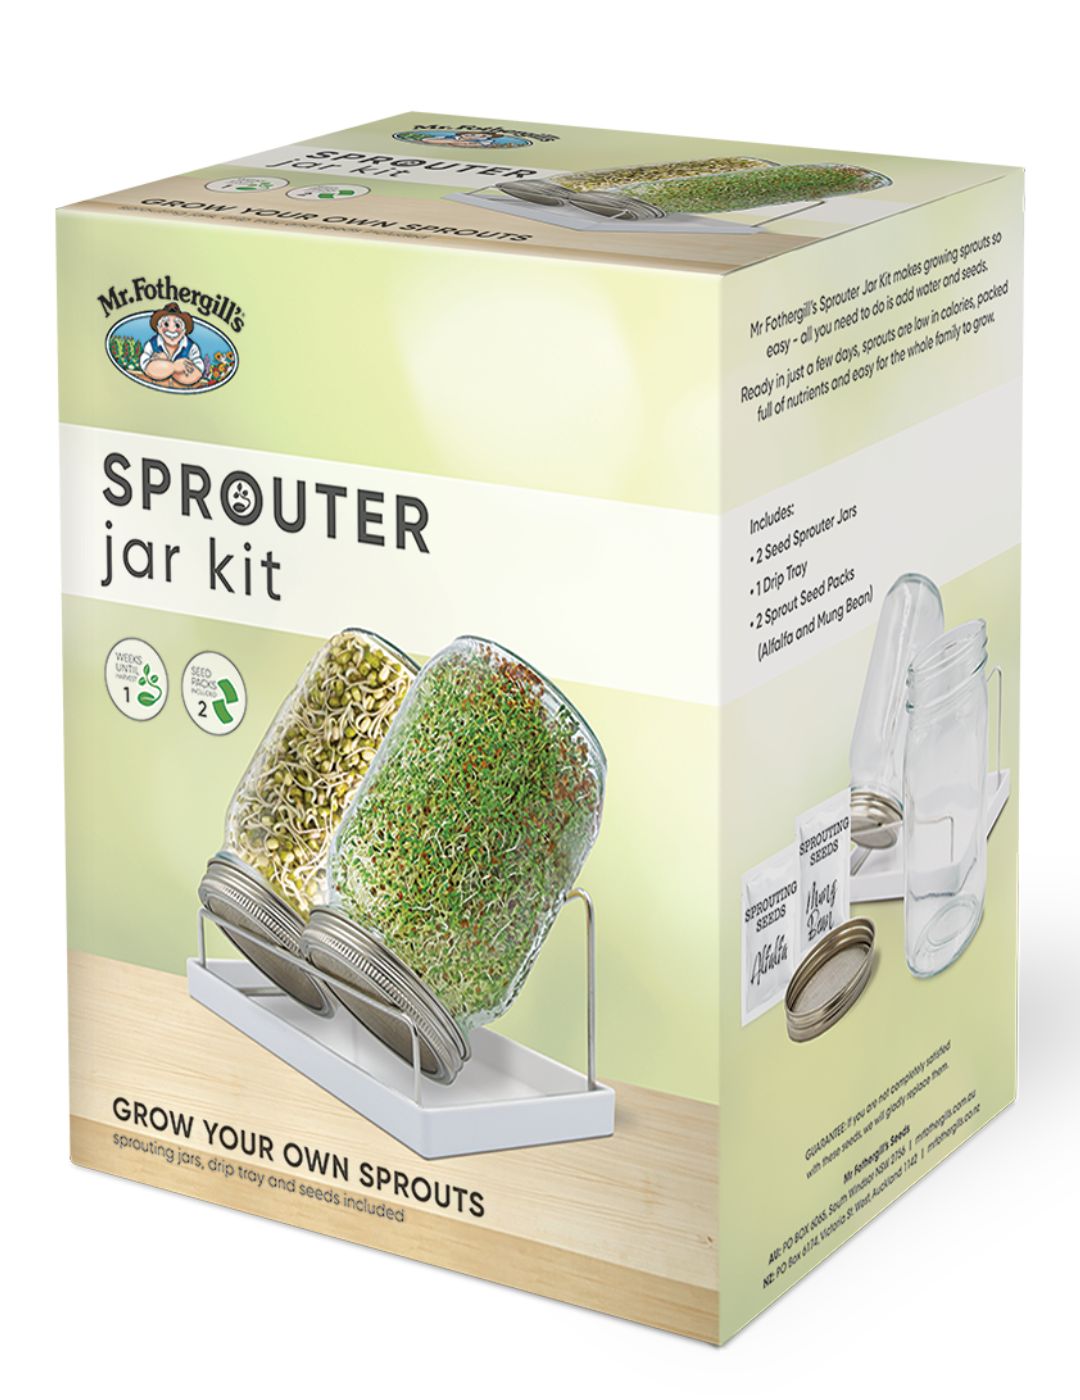
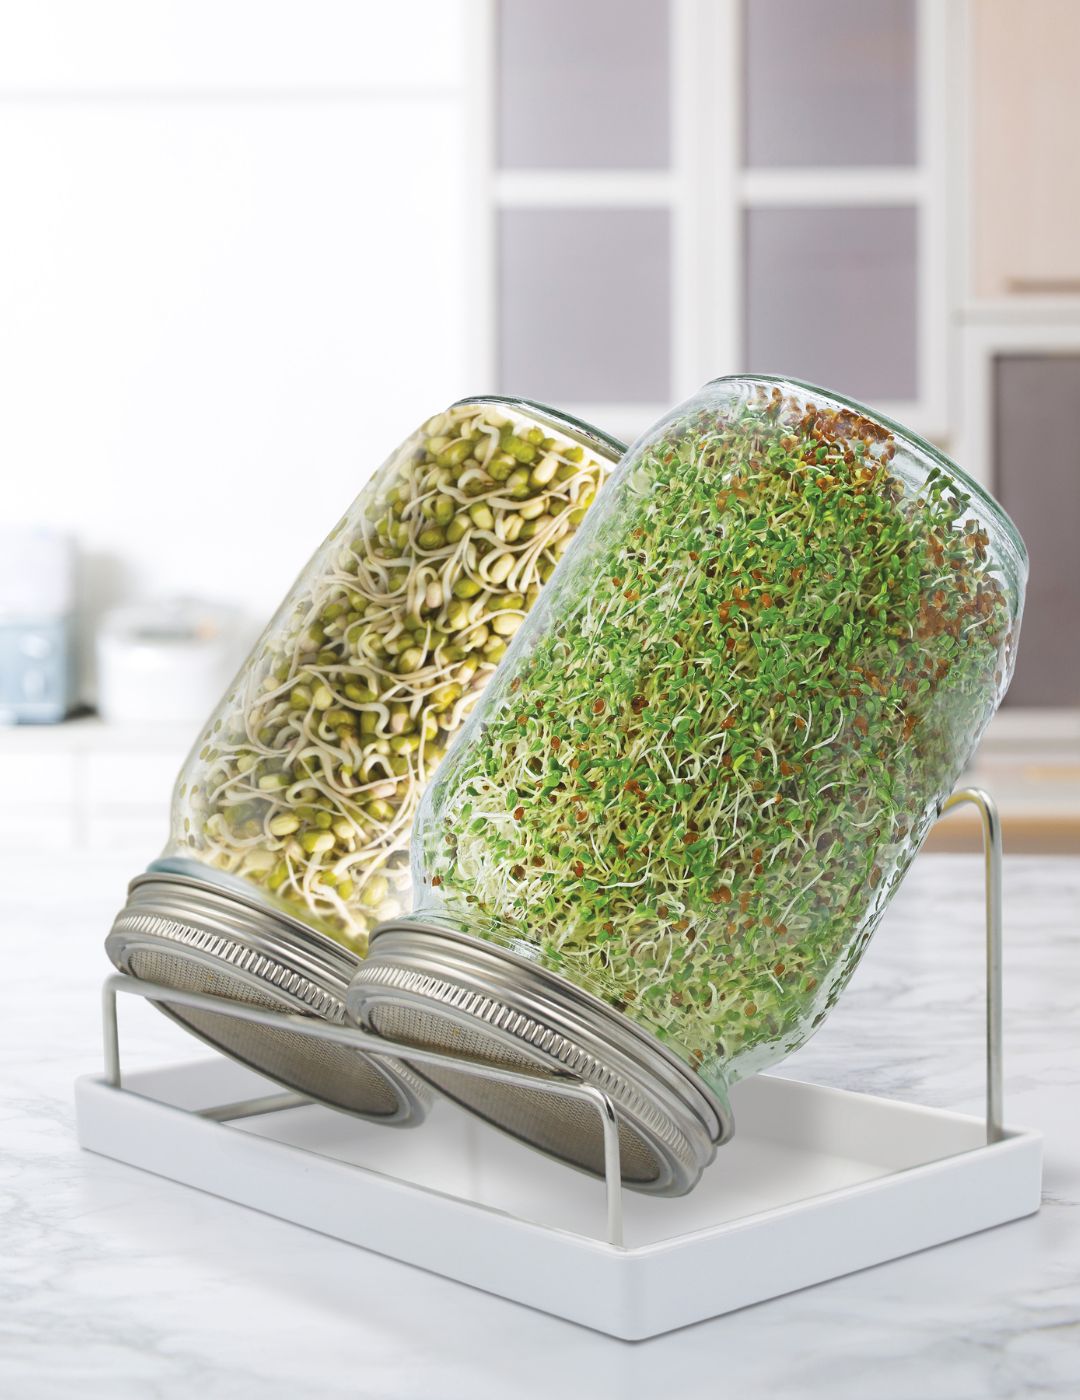
How to Grow Sprouts in a Jar
It is even possible to grow sprouts at home in a jar! Simply follow the instructions below:
- Place a tablespoon of seeds in a large jar or similar container.
- Cover the container opening with a fine, clean cloth, and secure it with a rubber band.
- Add enough warm water to cover the seeds and soak them overnight at room temperature.
- The next day, pour off excess water through the mesh cloth.
- Add fresh water to rinse and drain and do this at least twice a day.

Can I Grow Normal Seeds as Sprouts?
Normal garden seed varieties do not go through microbiological testing like sprout seeds such as our Sprouts Alive seeds do. This testing is important because you will consume both the plant and the seed, and we want to ensure the seeds don’t carry pathogens like salmonella or e-coli.
However, you can grow normal garden seeds as microgreens, as then you will consume just the plant and not the seed.
Can I Feed Sprouts to Animals?
Yes, indeed you can! Sprouts are just as healthy and delicious for animals as they are for humans. Birds like budgies and chickens especially love all types of sprouts.
For dogs, we recommend varieties like clover, alfalfa, broccoli, lentils, and mung beans. To prepare them, grind the sprouts in a food processor before mixing them into the dog food.
We all know that cats love cat grass, but wheatgrass is also good for them. If your cat won’t eat the wheat as sprouts (seed and all), grow them as microgreens so they can chew on the leaves.
Wheatgrass is also excellent for little critters like rabbits, hamsters, and guinea pigs.
How to Grow Microgreens in a Tray
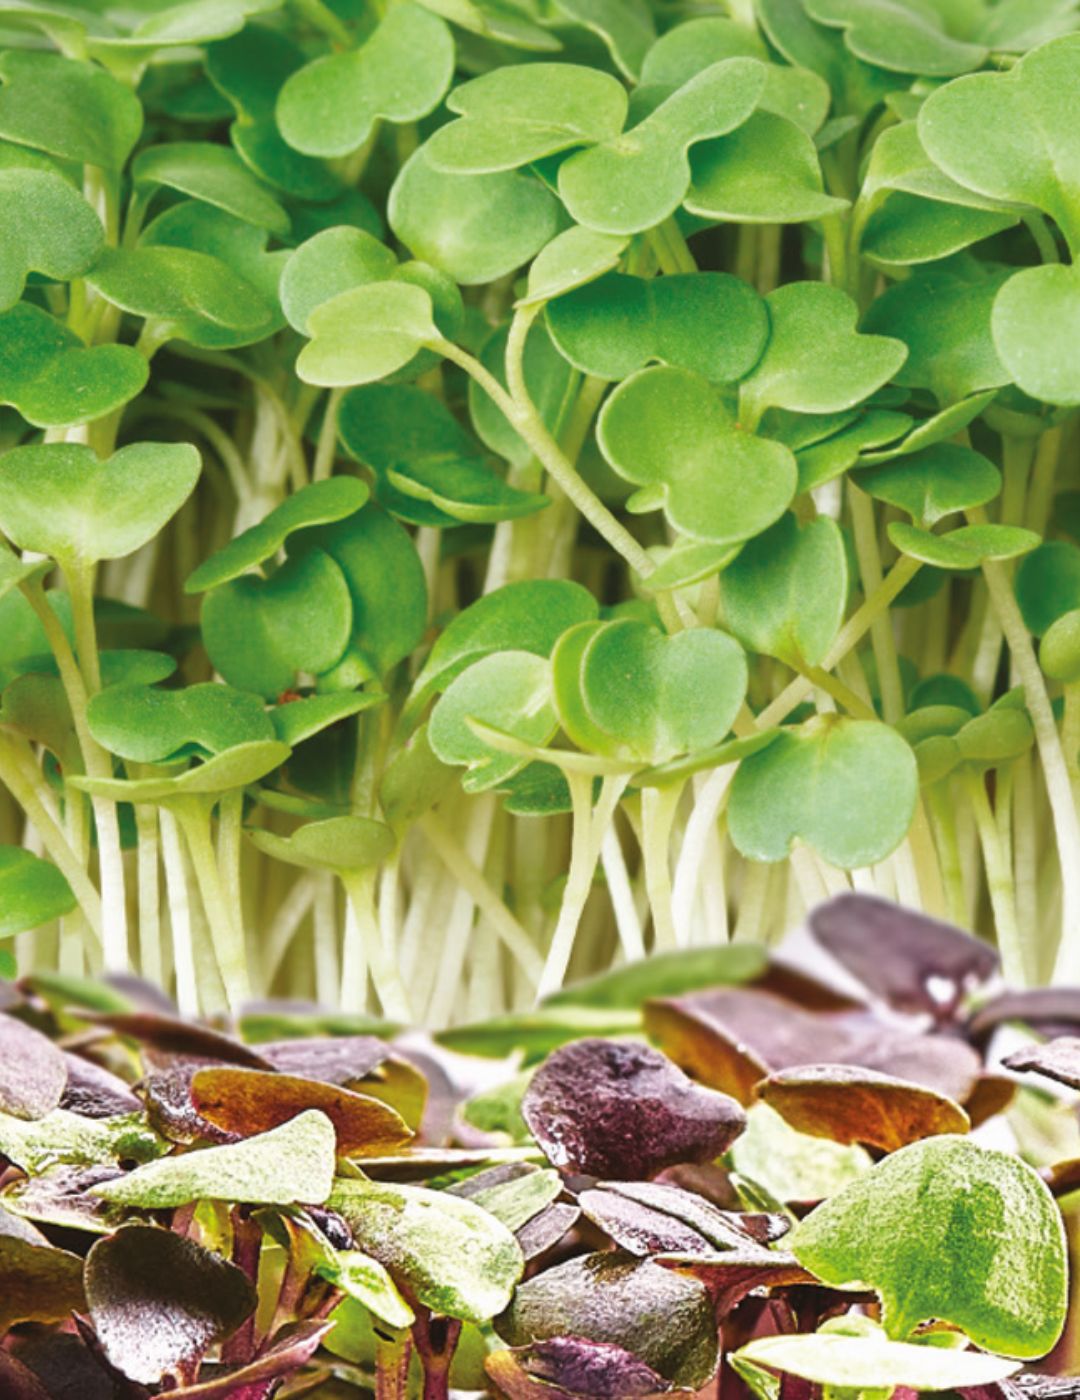
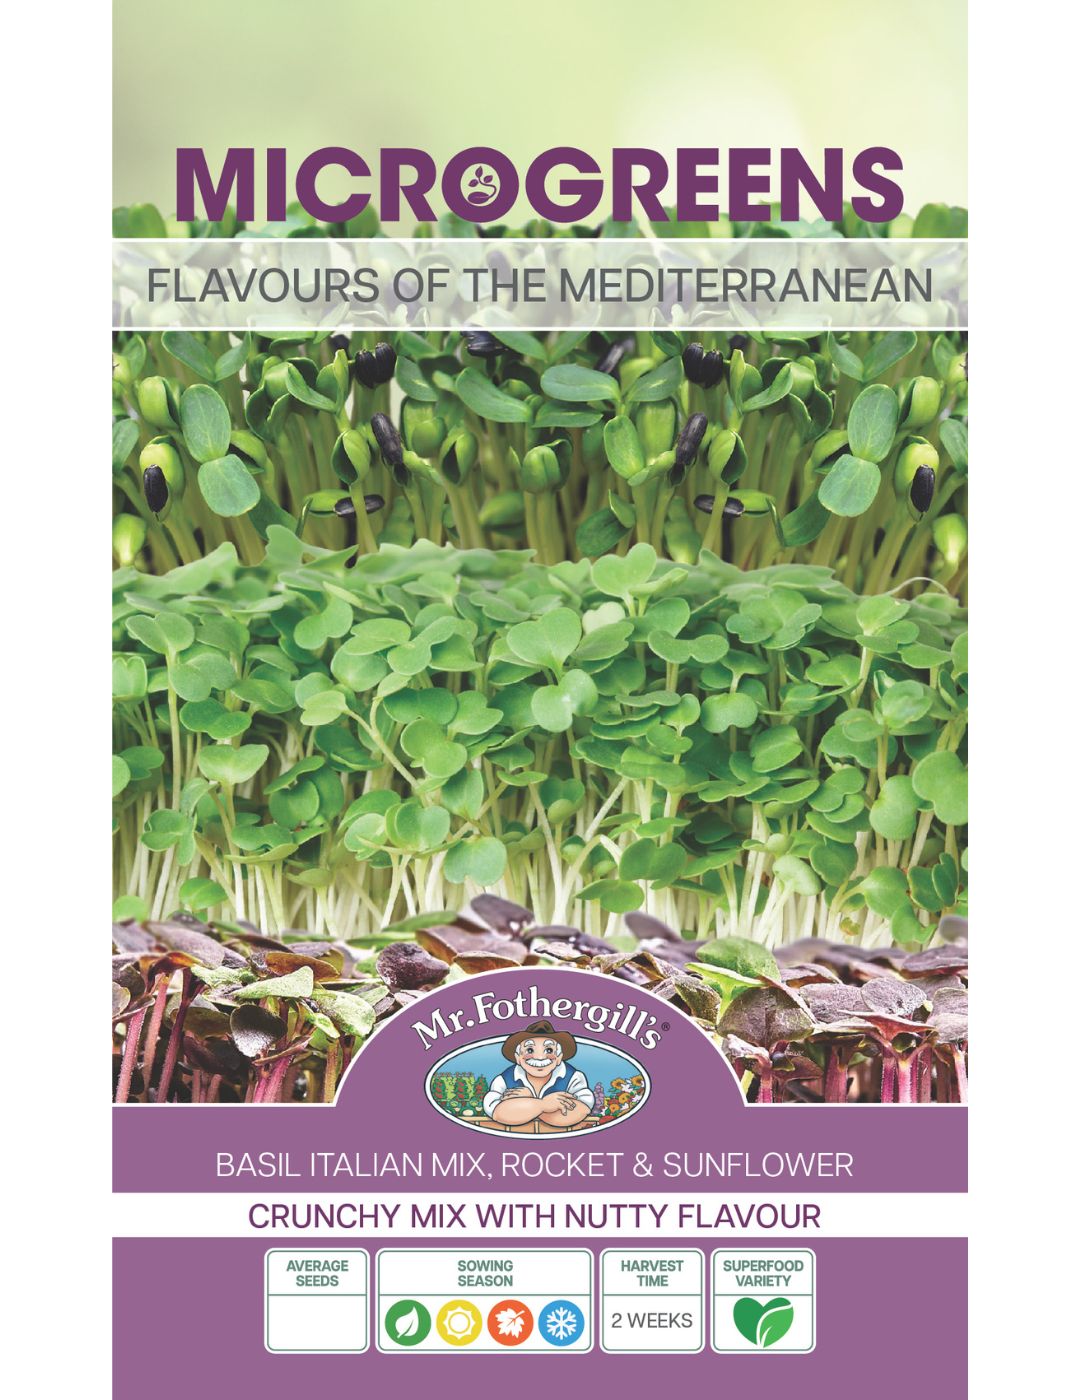
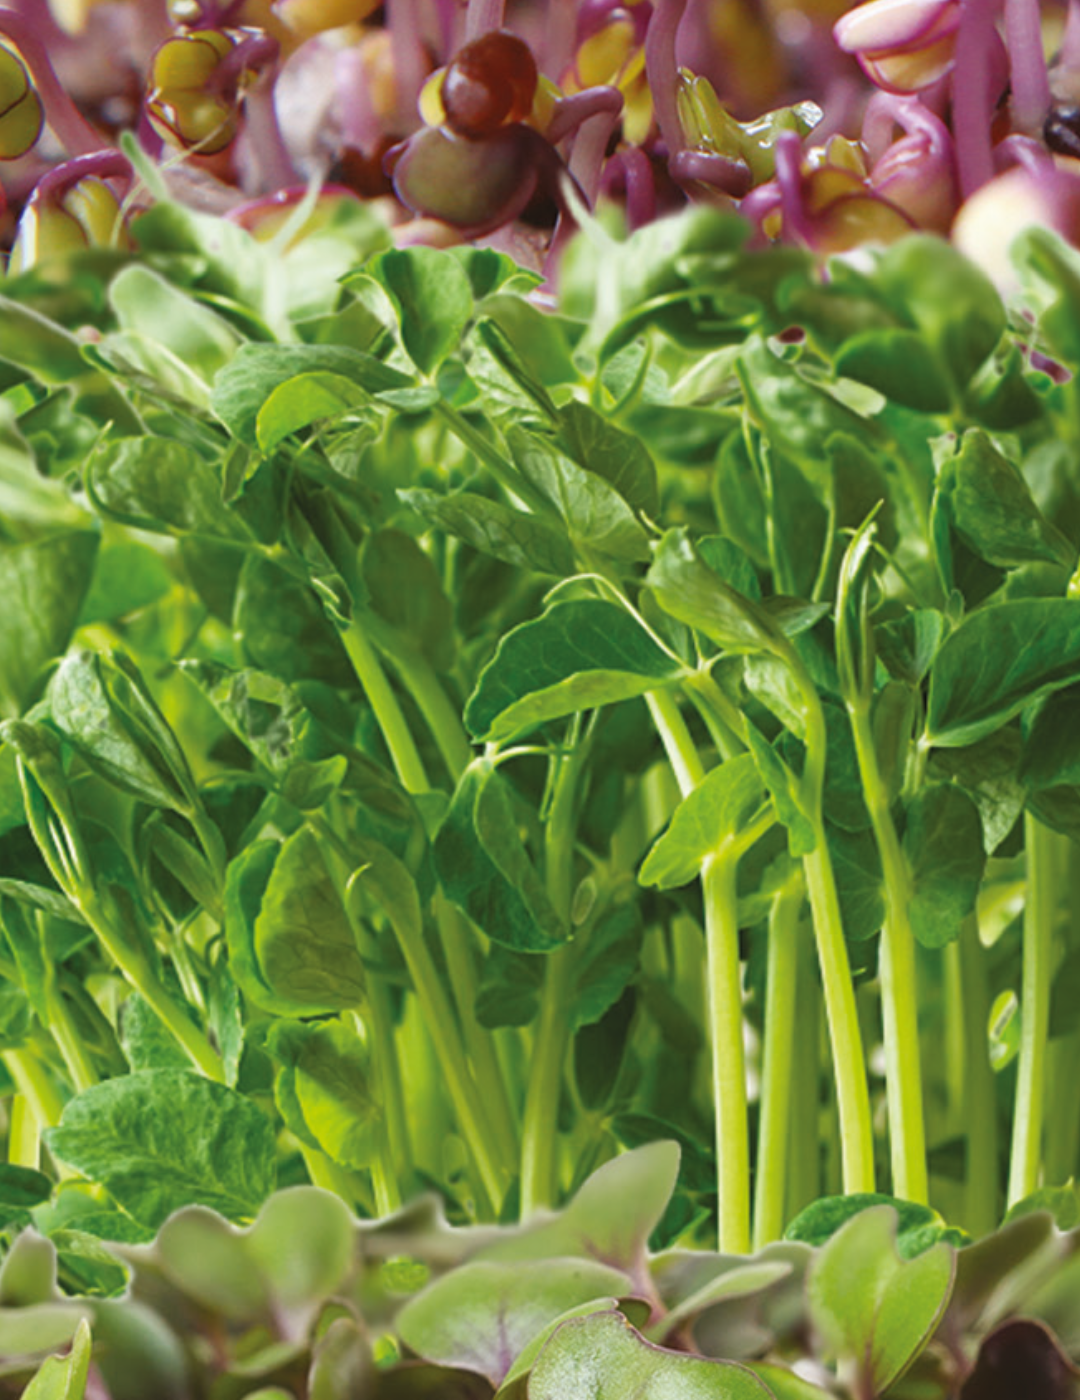
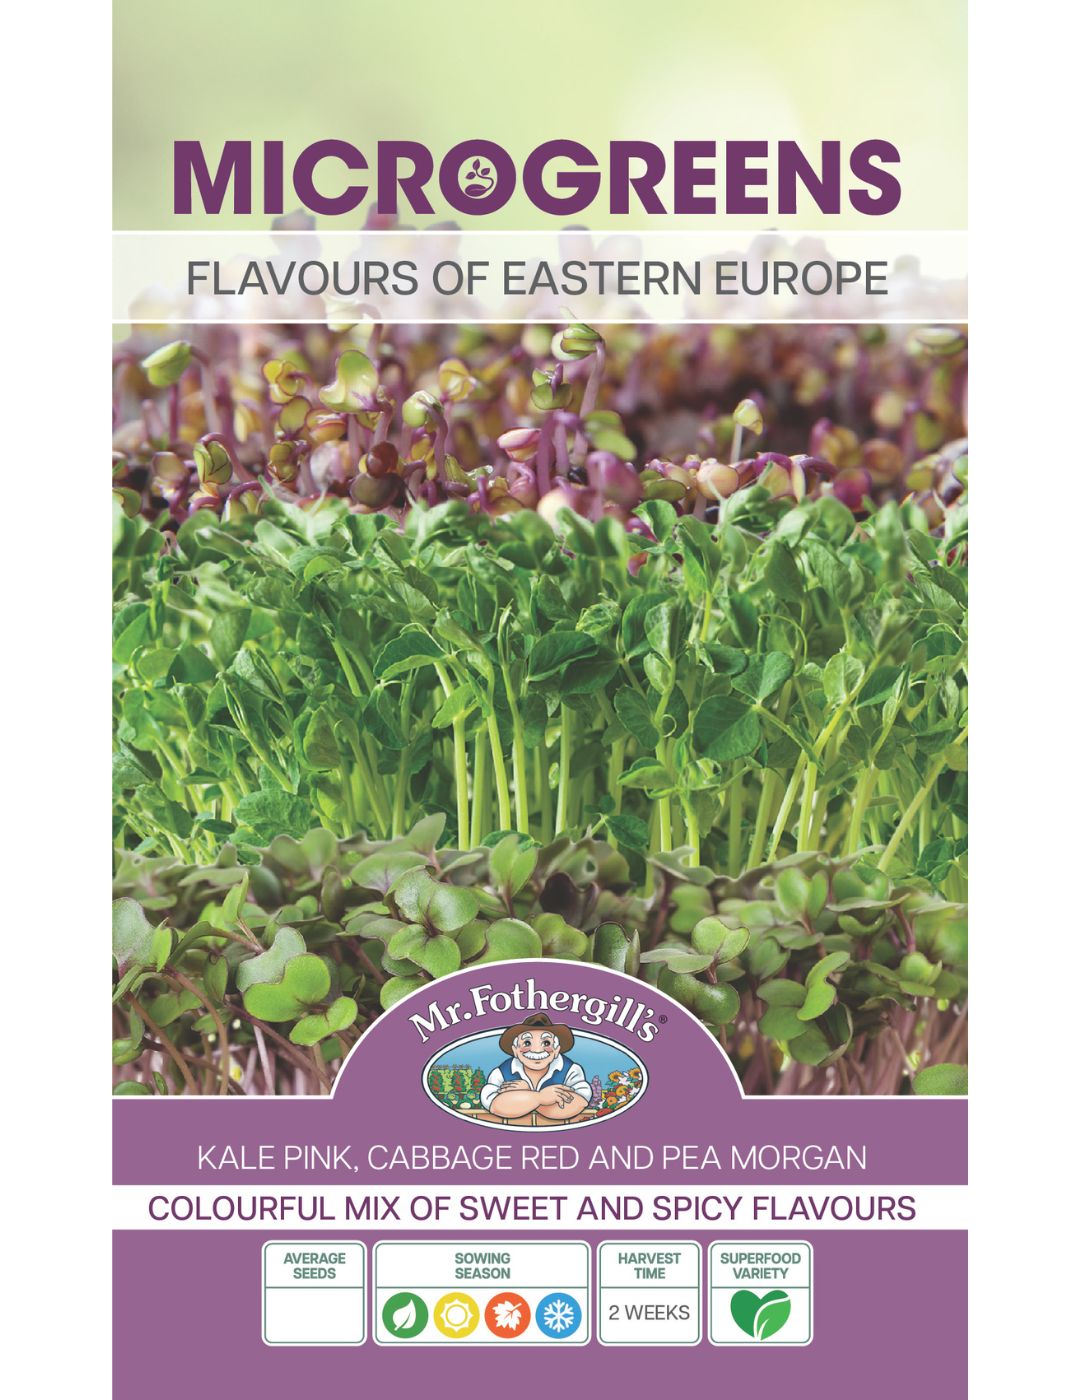
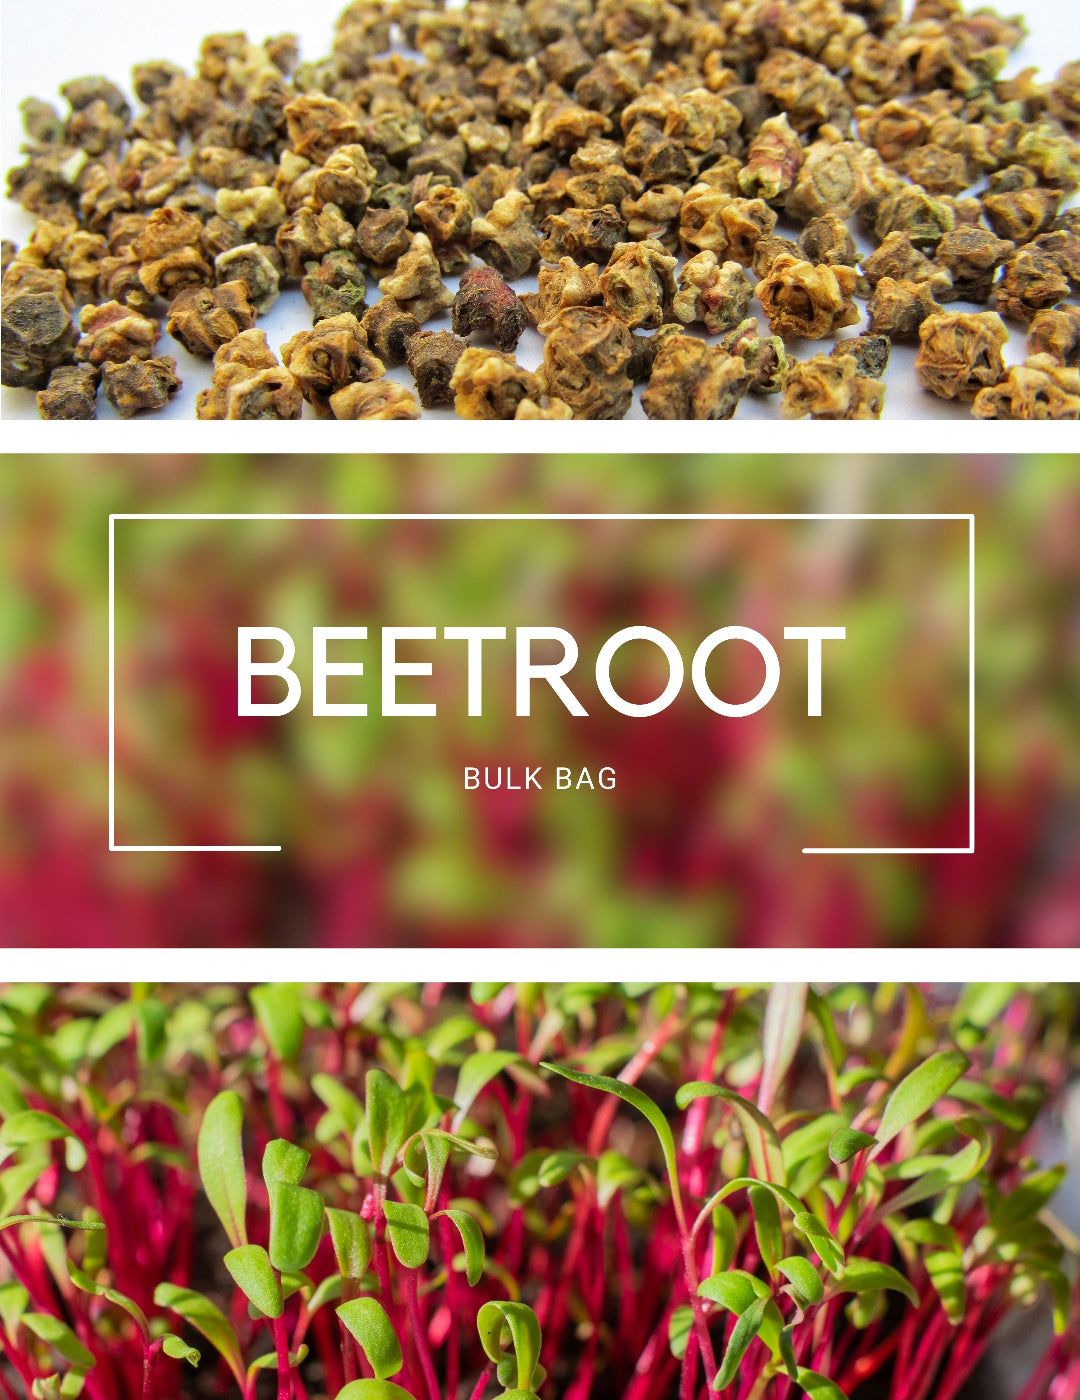
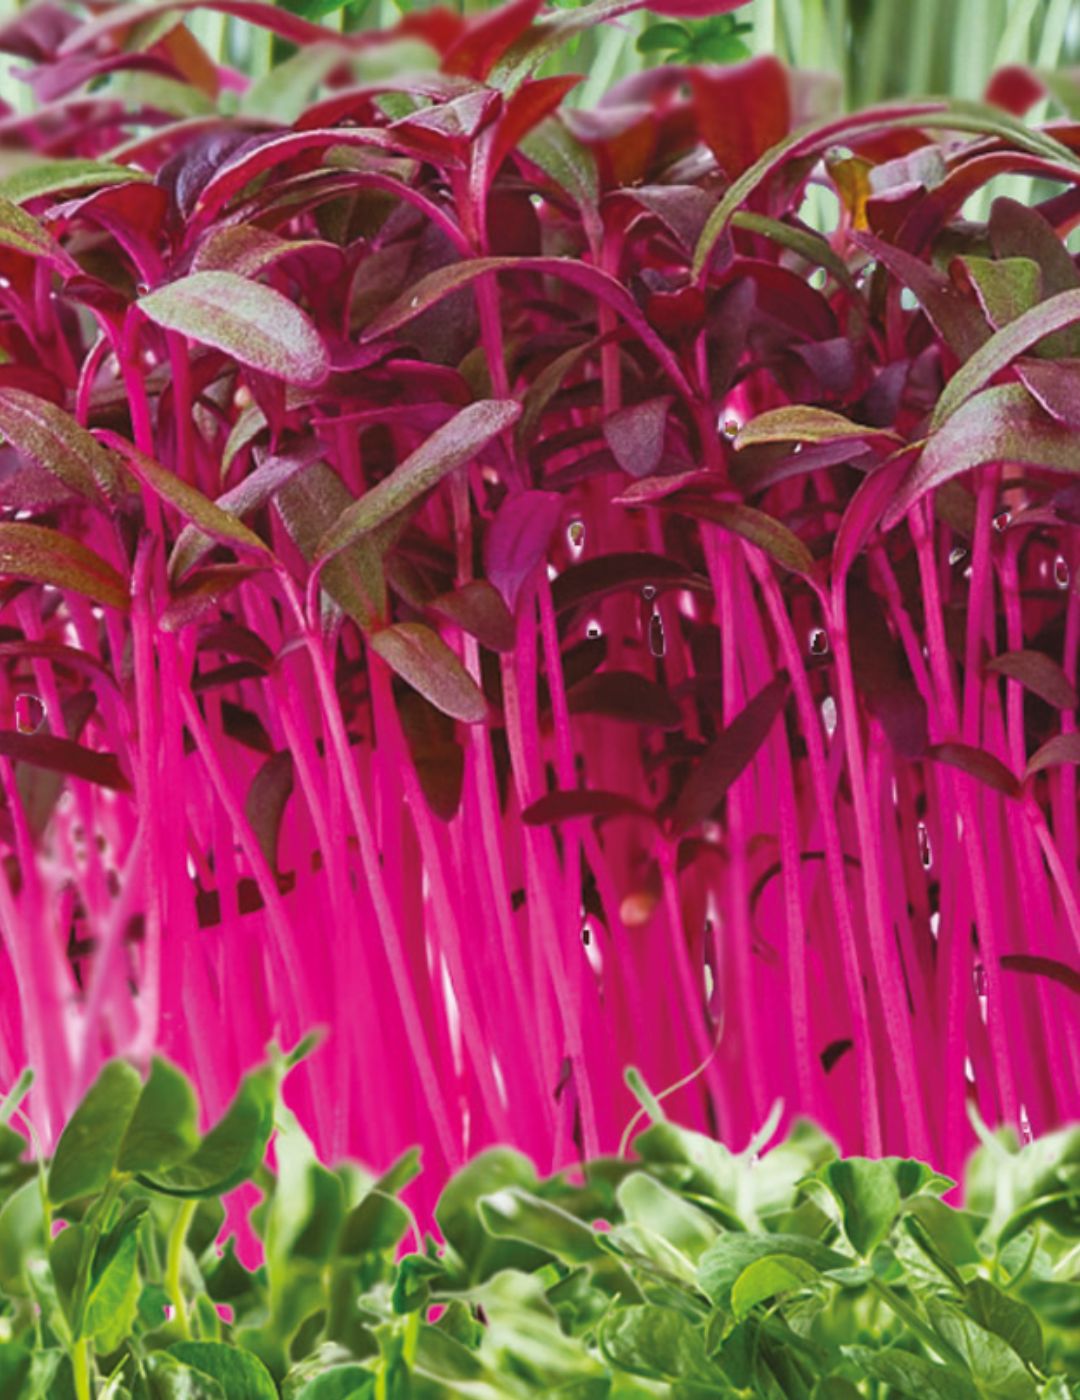
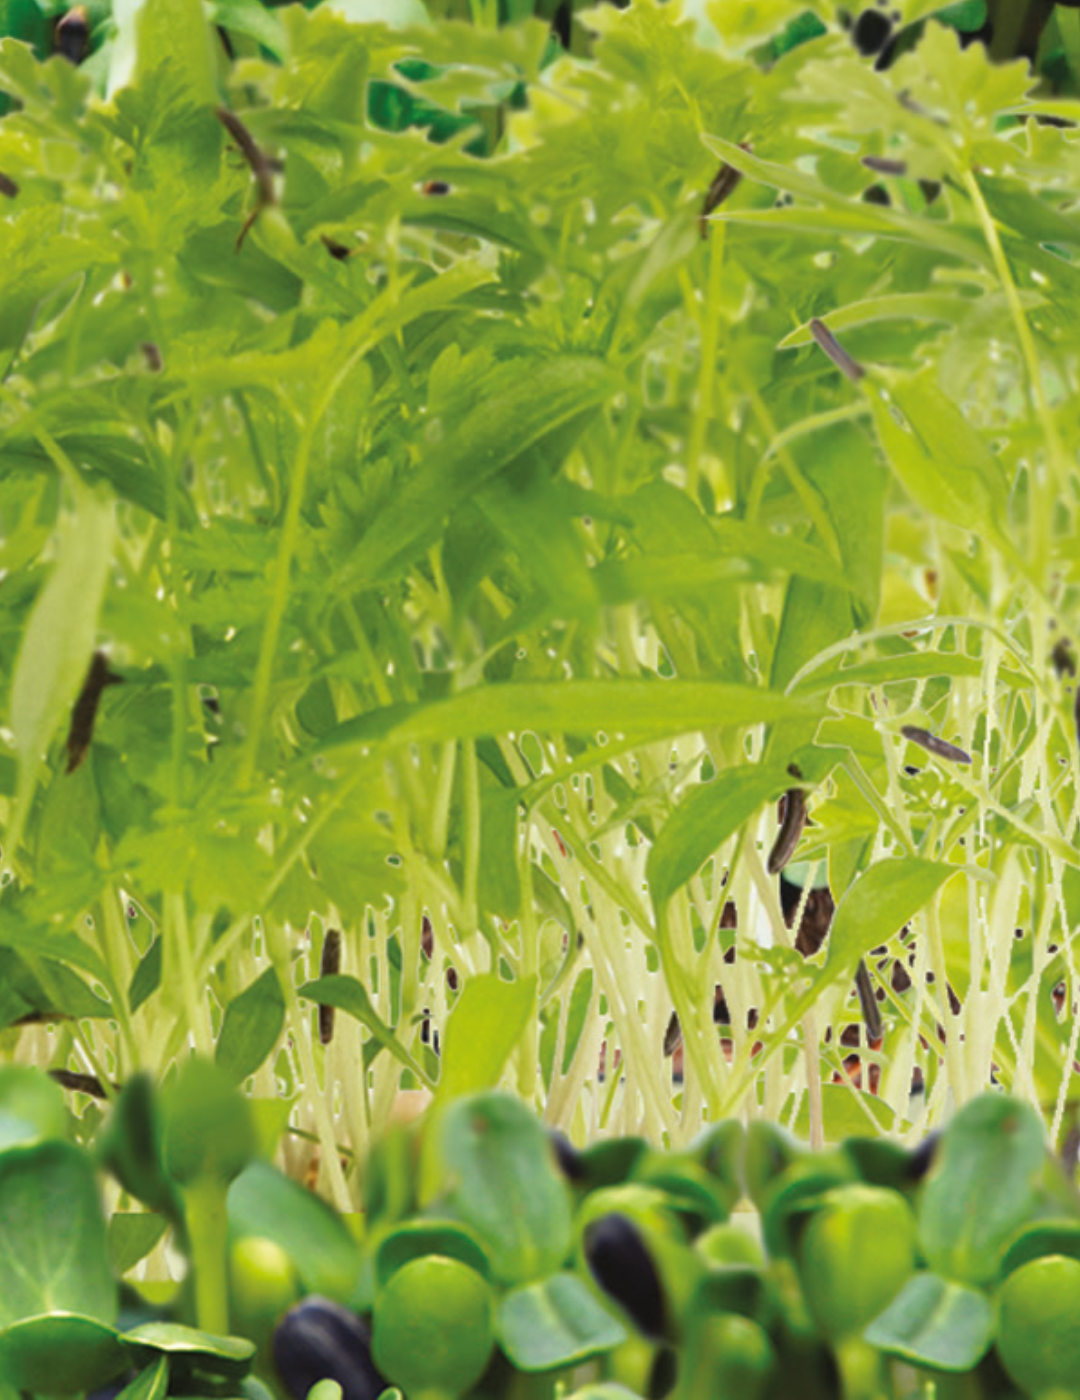
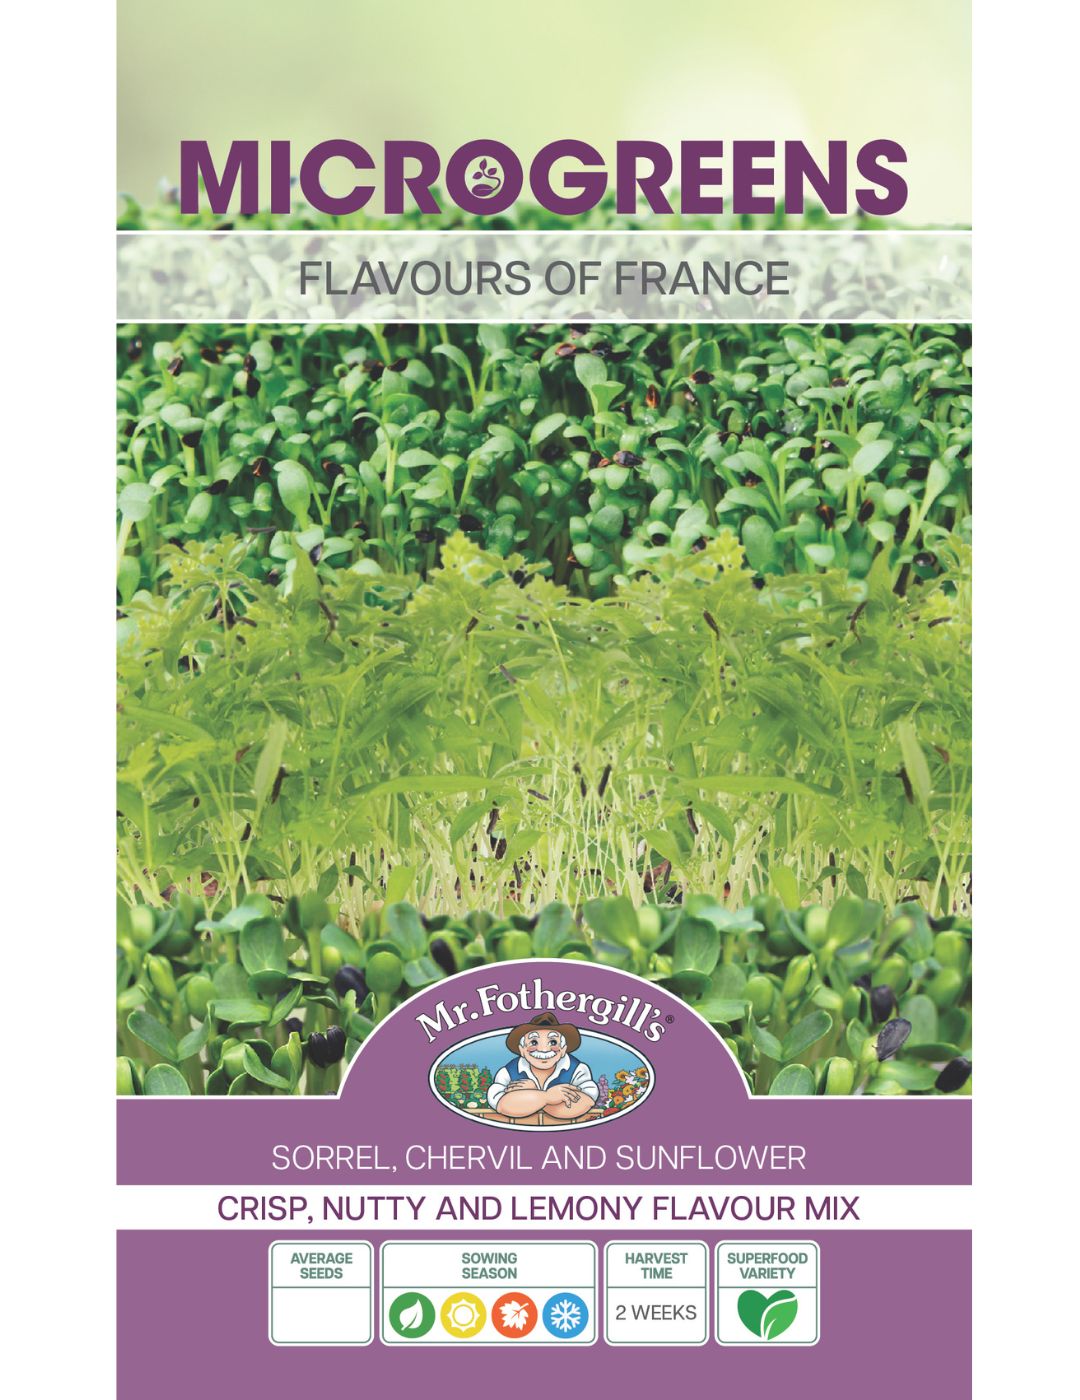
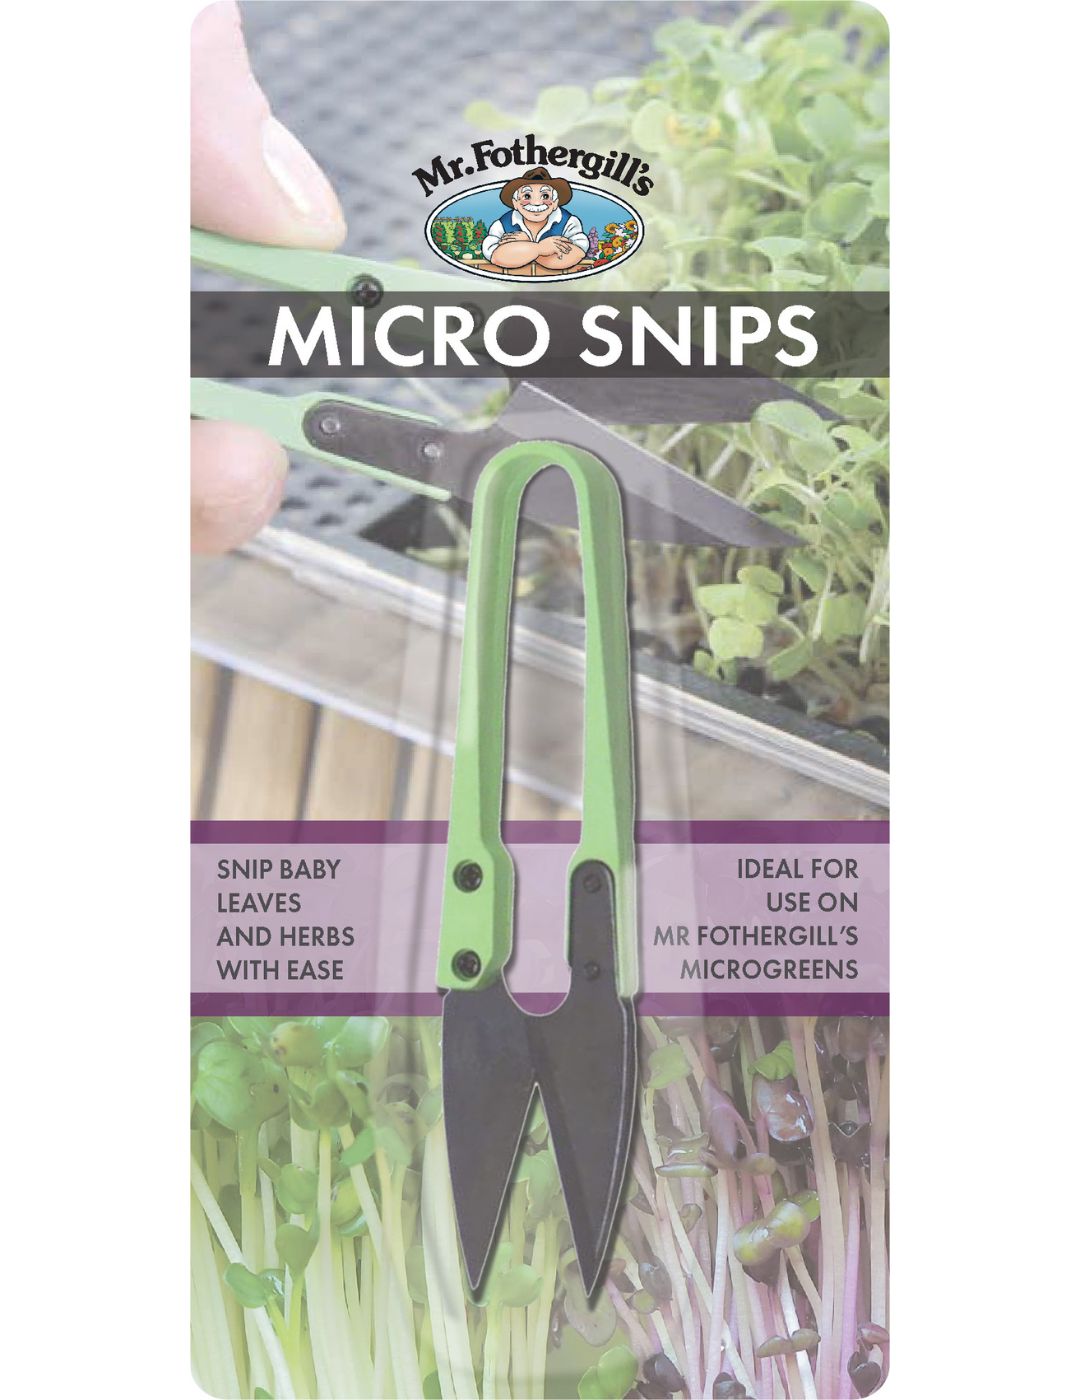
Microgreens, often called vegetable confetti, are an exciting, colourful alternative to sprouting that is popular with gourmet chefs. They are halfway in size between sprouts and baby greens and are usually harvested within 2 weeks of sowing. Microgreens are commonly grown in seedling trays and unlike sprouts, they’re grown in sunlight and harvested with scissors when there are two or more true leaves.
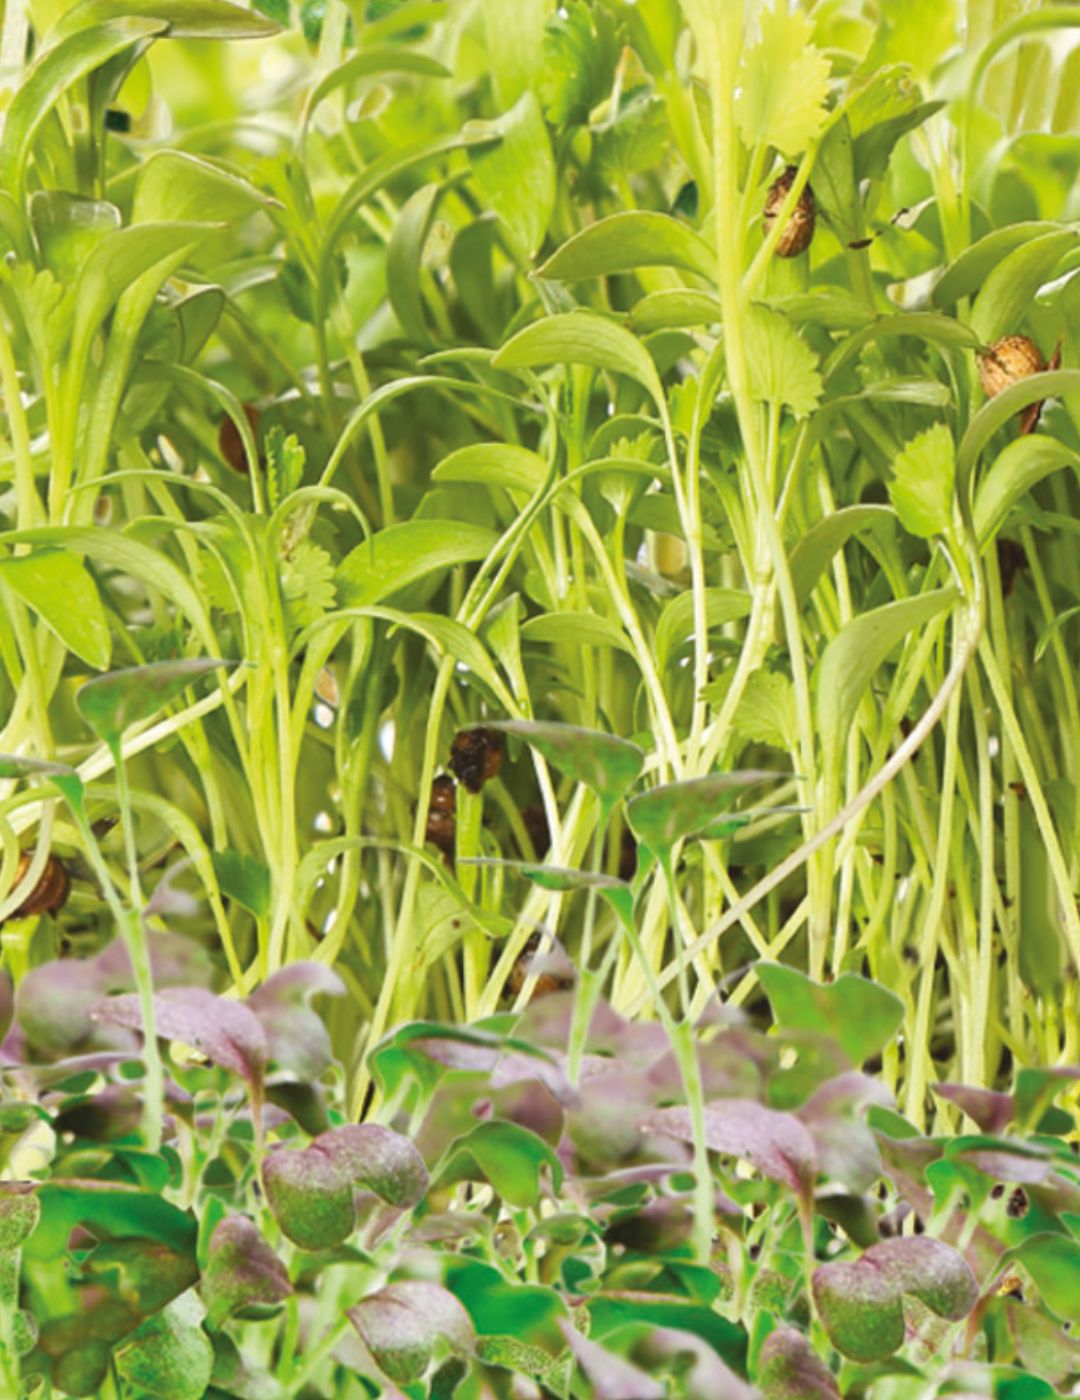
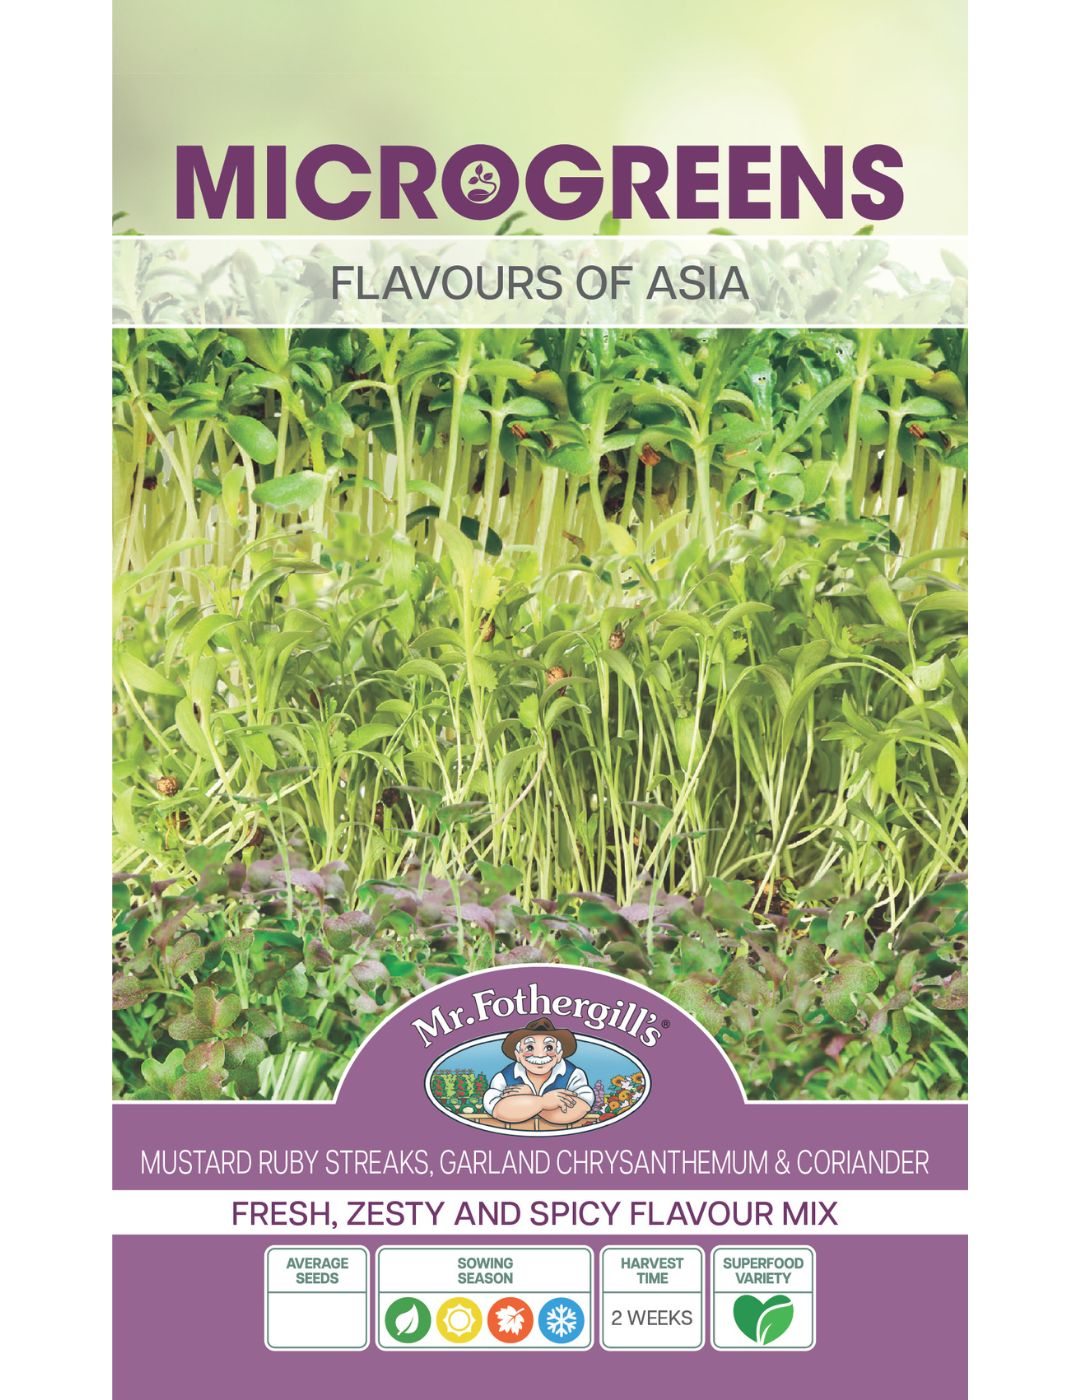
Microgreens include many of the same leafy greens as salad mixes but are cut at a smaller stage. They also have more varieties that are selected for their colour, flavour and texture. Microgreens are eaten as thin, delicate plants such as miniature variations of salad greens and herbs. They provide texture and colour when used as garnish, exciting flavours as part of salad mixes, and they’re healthy and incredibly tasty.
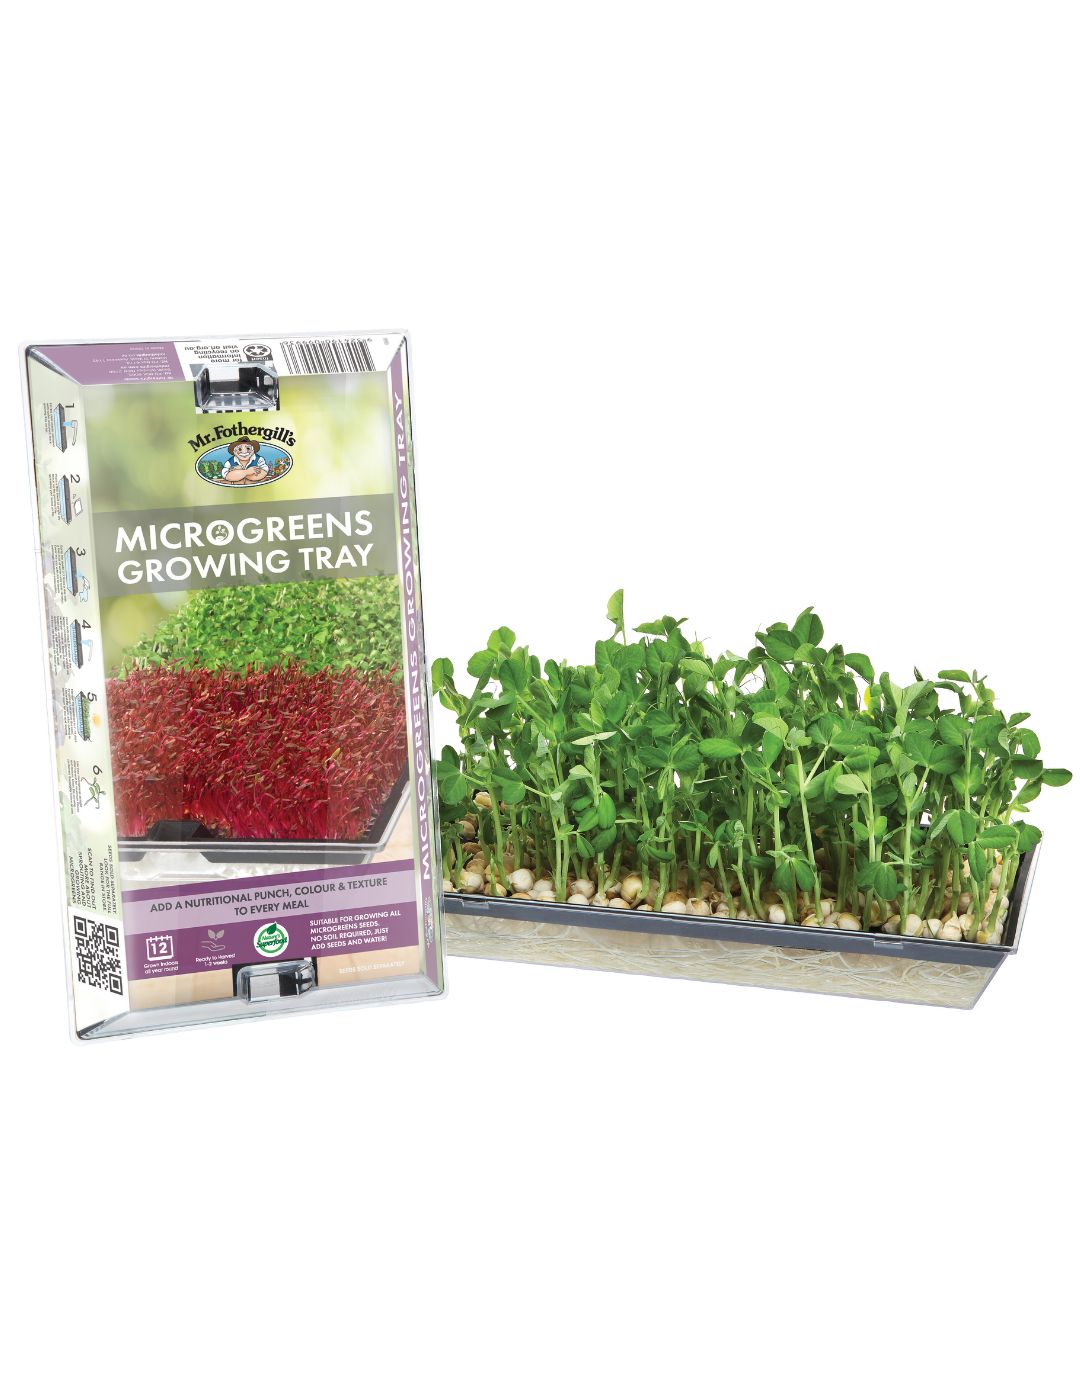
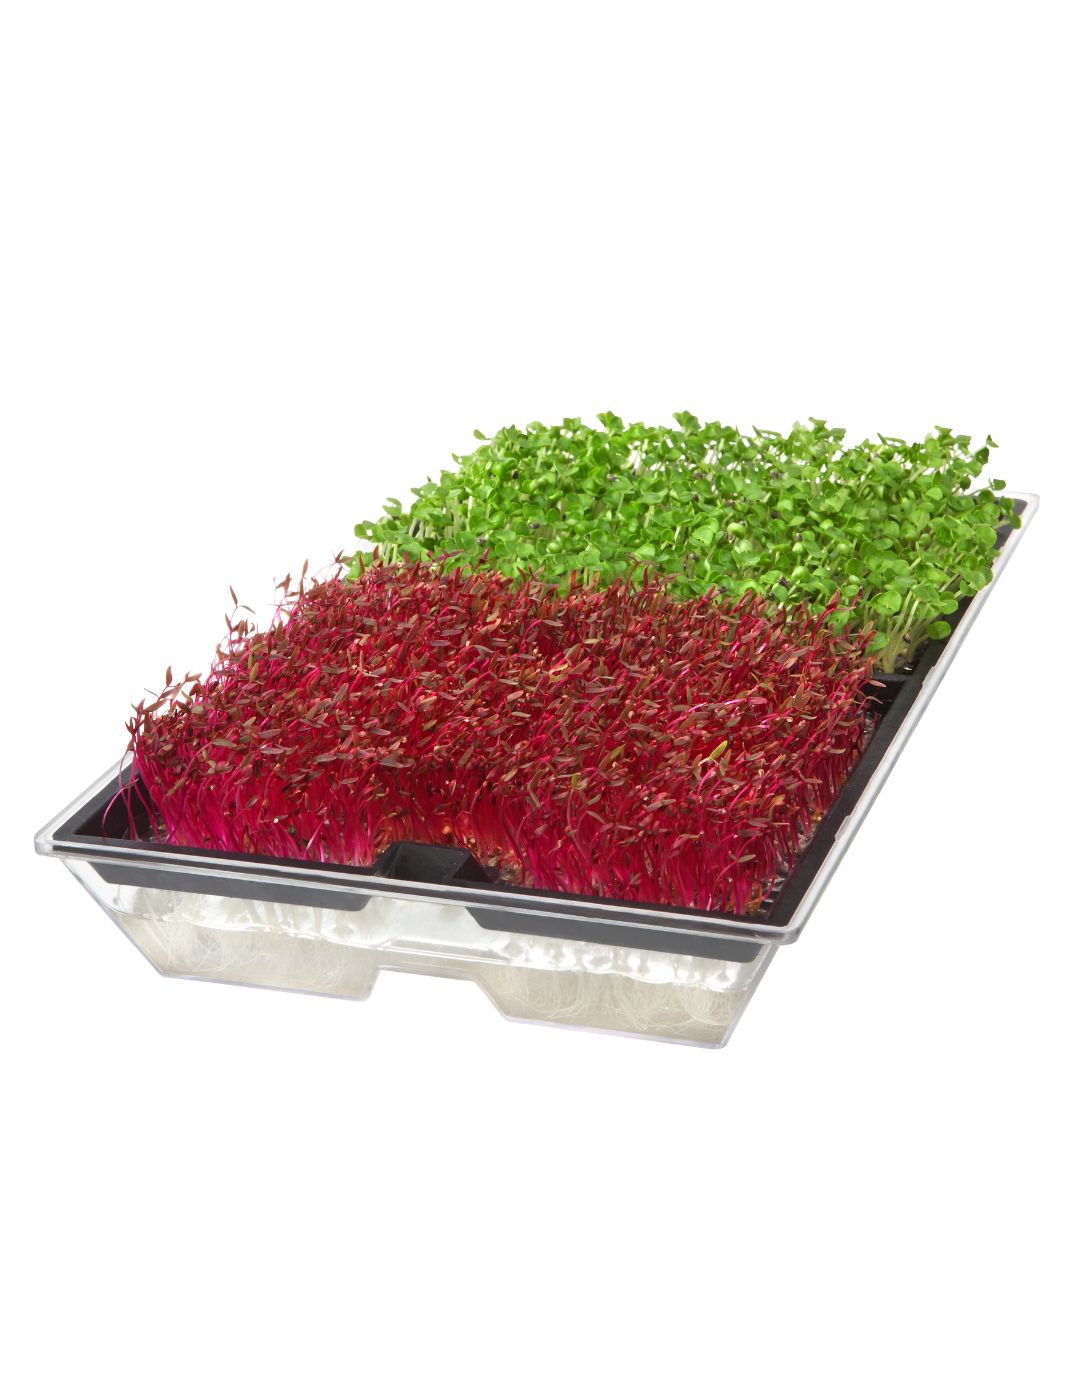
Here’s how to grow microgreens in a Mr Fothergill’s Microgreens Growing Tray:
- Fill the clear plastic container with water and place the black growing tray on top.
- Place a thin sheet of tissue paper on the growing tray, sprinkling your seeds onto the paper.
- Place in a light and warm position but keep away from direct sunlight.
- Spray the seeds 2-3 times a day with a fine water mist until roots develop. Cover them with foil to keep them moist.
- Once roots reach the water in the bottom container, spraying and foil are no longer required. Keep the water topped up and refreshed, you can add liquid fertiliser to promote strong and healthy growth.
- Harvest the seedlings in 7-14 days by cutting just above the seed.
How to Grow Microgreens in Soil
- Fill a seedling tray or plant pots with quality soil mix and firm down gently.
- Sow the seeds thinly and cover them with a fine layer of soil.
- Keep the soil moist but not too wet and add liquid fertiliser for strong and healthy growth.
- Harvest the seedlings in 7-14 days by cutting at the bottom of the stem.








Leave a comment
All comments are moderated before being published.
This site is protected by hCaptcha and the hCaptcha Privacy Policy and Terms of Service apply.